Dental Code D3320: Your Complete Guide to Periodontal Surgery
If you have just left your dentist’s office with a treatment plan in hand, you might be staring at a line item that reads “D3320” and wondering what it means for your mouth—and your wallet. You are not alone. Dental codes can look like a secret language, but understanding them is the first step to taking control of your oral health.
Welcome to your comprehensive guide on Dental Code D3320. Whether you are researching a recommended procedure or just trying to understand your insurance Explanation of Benefits (EOB), you have come to the right place.
We are going to walk through everything you need to know about this specific code in a way that is clear, honest, and helpful. Forget the confusing jargon. Let’s break it down together.
What is Dental Code D3320? A Friendly Introduction
At its core, Dental Code D3322 refers to a specific surgical procedure performed by a periodontist or a general dentist with advanced training. It falls under the category of periodontal (gum) surgery.
Specifically, D3320 is the code for a “Lateral Pedicle Graft.”
This is a specialized technique used to cover an exposed tooth root. Imagine a tiny garden where the soil (your gum tissue) has eroded away from a plant (your tooth). A lateral pedicle graft takes a small strip of healthy gum from the tooth right next to the exposed root and slides it over to cover the bare spot.
Why “Lateral Pedicle”?
-
Lateral: This means “to the side.” The graft is moved sideways from a neighboring tooth.
-
Pedicle: This means that the graft remains attached at one end to its original blood supply. Think of it like a drawbridge: one end is still connected to the castle, so it stays alive and healthy while being moved into a new position.
Because the graft brings its own blood supply with it, this type of procedure is often very successful and predictable. It is like giving the struggling area a lifeline of nutrients to heal properly.
Why Would You Need This Procedure? Understanding Gum Recession
To understand why a dentist might recommend code D3320, we first need to talk about gum recession.
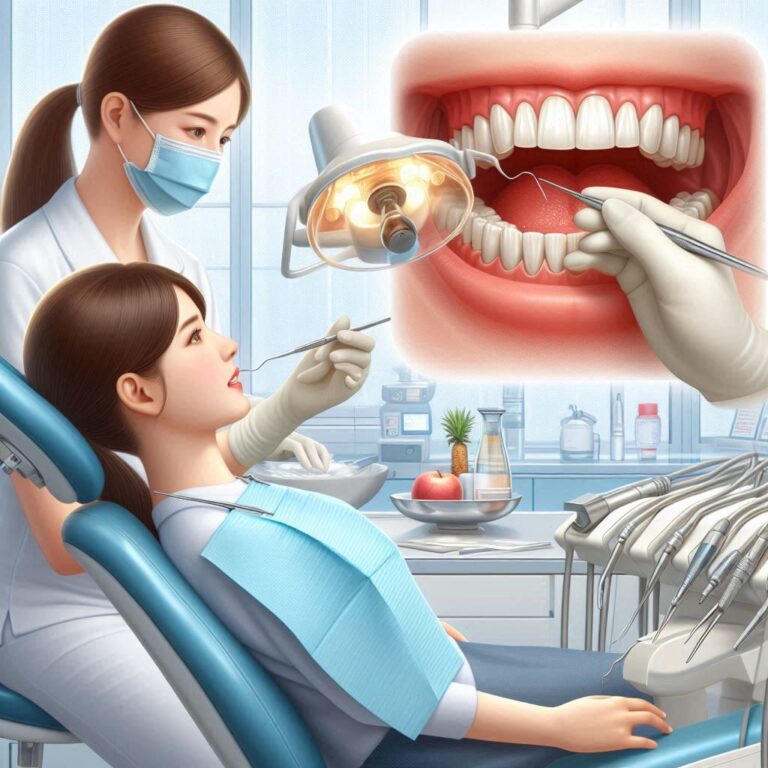
Gum recession is exactly what it sounds like: the gum tissue surrounding your teeth pulls back or wears away, exposing more of the tooth, or even the tooth’s root. When this happens, a “gap” or “pocket” forms between the tooth and the gum, making it easy for bacteria to build up.
Here are the most common reasons why recession happens and why a graft might be necessary:
The Root of the Problem: Common Causes of Recession
-
Periodontal Disease: This is the most common culprit. Bacterial gum infections destroy the gum tissue and the supporting bone that holds teeth in place.
-
Aggressive Brushing: Believe it or not, you can love your teeth too much. Using a hard-bristled toothbrush or brushing with too much force can literally wear away the gum line over time.
-
Genetics: Some people are simply predisposed to thin, fragile gums, making them more susceptible to recession regardless of how well they care for their teeth.
-
Teeth Grinding (Bruxism): Clenching or grinding your teeth puts excessive pressure on them, which can accelerate gum recession.
-
Misaligned Teeth or Bite: If one tooth is sitting outside the arch, the bone around it may be thin, or the trauma from the bite can cause the gum to recede.
-
Tobacco Use: Smokers and tobacco users have a much higher risk of sticky plaque and gum disease, leading to recession.
Symptoms You Might Notice
You might not even realize your gums are receding at first because the process is so gradual. However, common signs include:
-
Tooth Sensitivity: A twinge of pain when consuming hot, cold, or sweet foods and drinks. This happens because the protective cementum layer on the root is much thinner than enamel, exposing the sensitive inner part of the tooth (dentin).
-
Visible Roots: You can see the yellow-ish root surface of the tooth when you look in the mirror.
-
“Longer” Teeth: Your teeth appear longer than they used to.
-
Notched Tooth: You might feel a notch near the gum line.
Important Note: If you are experiencing any of these symptoms, it is crucial to see your dentist. Exposed roots are not just a cosmetic issue; they are vulnerable to decay and can lead to tooth loss if left untreated.
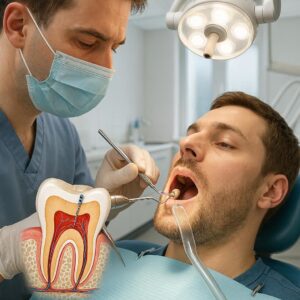
The Procedure: What Happens During a D3320 Treatment?
So, you and your dentist have decided that a lateral pedicle graft is the best option. What can you expect on the day of the procedure? Let’s walk through it step-by-step.
The goal is to make you feel prepared and calm. Knowing what is coming can take a lot of the anxiety out of the experience.
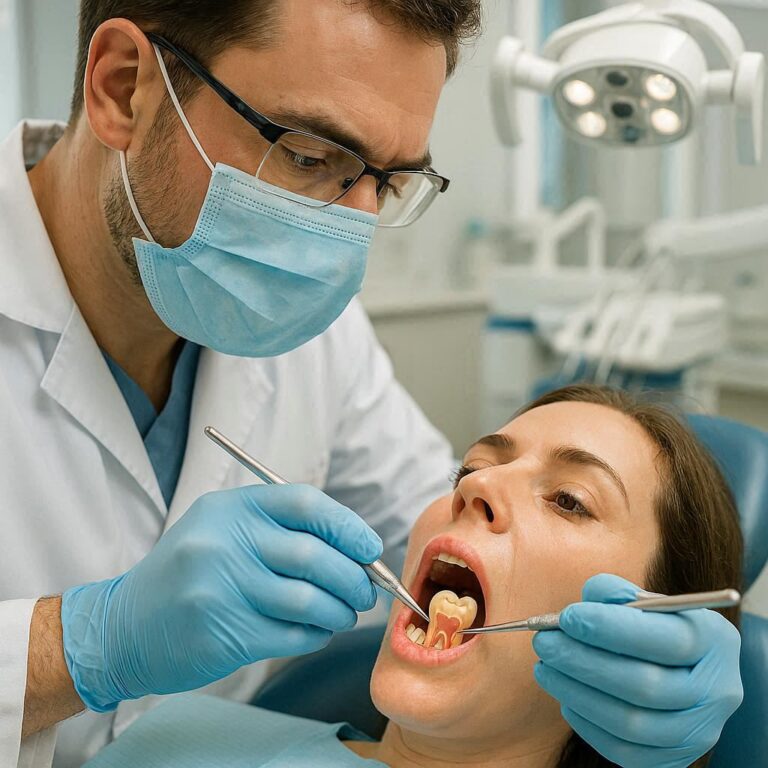
Step 1: Preparation and Anesthesia
Your comfort is the number one priority. The dentist or surgeon will start by applying a topical anesthetic to numb the area. Once that has taken effect, they will inject a local anesthetic (like Novocaine) around the surgical site. You will be awake, but you shouldn’t feel any sharp pain—just pressure and vibration.
Step 2: Preparing the Donor Site and Recipient Site
This is where the skill of the dentist really shines.
-
The Recipient Site (The Problem Area): The dentist will gently clean the exposed root surface to remove any bacteria or damaged tissue. This creates a clean surface for the new tissue to attach to. A small notch might be prepared in the gum to receive the graft.
-
The Donor Site (The Helper Tooth): The dentist will create an incision next to the healthy tooth adjacent to the recession. This incision creates a flap of tissue—the “pedicle”—that remains attached at one end. The shape and size are carefully measured to perfectly cover the exposed root.
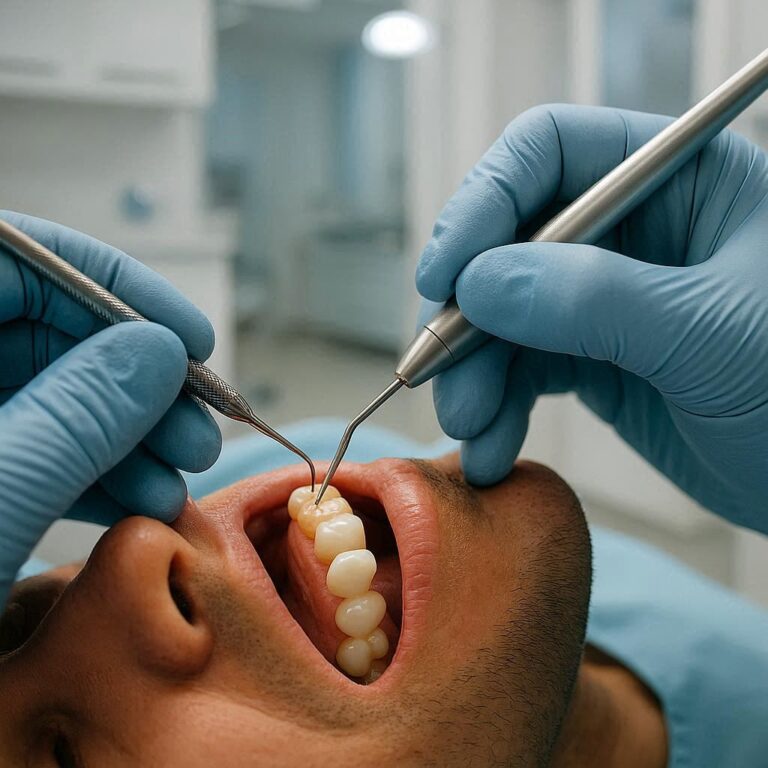
Step 3: Moving and Suturing the Graft
The pedicle flap is then gently slid (laterally) over to cover the exposed root. It is like pulling a blanket over your shoulder. Once it is in the perfect position, the dentist will use very fine sutures (stitches) to secure it in place. These sutures are often dissolvable, which means you won’t need to have them removed later.
Step 4: Post-Procedure Care
A protective dressing (periodontal pack) might be placed over the area to shield the graft while it heals. You will be given detailed instructions on how to care for your mouth over the next few weeks.
Advantages of Choosing a Lateral Pedicle Graft (D3320)
Why would a dentist choose this specific technique over other gum graft methods? It offers some distinct benefits.
1. Excellent Blood Supply (Higher Success Rate)
Because the graft remains attached to its original source of blood, it has a built-in lifeline. This generally means a faster healing process and a higher predictability of success compared to grafts that are completely removed and then sewn into place.
2. Single Surgical Site
Other types of grafts often require tissue to be taken from the roof of your mouth (the palate). This creates a second surgical wound that needs to heal. With a lateral pedicle graft, the donor tissue is right next door. This means only one general area is healing, which can significantly reduce overall discomfort.
3. Excellent Color Match
Since the graft comes from neighboring gum tissue, the color and texture will match perfectly. You won’t be able to tell where the graft was placed once it heals. Grafts taken from the palate can sometimes look like a different shade of pink, standing out against the surrounding tissue.
Potential Drawbacks and Limitations
Of course, no procedure is perfect for everyone. The lateral pedicle graft has specific requirements that make it suitable only for certain situations.
1. Requires a Healthy Donor Site
This is the biggest “if.” The tooth next to the recession must have an ample amount of thick, healthy gum tissue to spare. If the adjacent tooth also has thin or receding gums, there is simply nothing to borrow.
2. Limited to Small or Moderate Recessions
You can only move a flap of tissue so far. This technique is ideal for covering one or two adjacent teeth with recession. It is not typically used for covering widespread, multiple areas of recession across different parts of the mouth.
3. Risk of Recession at the Donor Site
Because you are taking tissue from the neighboring tooth, there is a small risk that the gum at the donor site could recede slightly. A skilled surgeon will be very careful to minimize this, but it is a factor to consider.
Comparison: Lateral Pedicle Graft vs. Other Graft Types
To help you visualize the differences, here is a simple comparison of the three main types of gum graft procedures.
| Procedure | Code | Tissue Source | Best For | Key Consideration |
|---|---|---|---|---|
| Lateral Pedicle Graft | D3320 | Adjacent, healthy gum | Covering 1-2 adjacent exposed roots. | Requires thick, healthy gum next to the recession. |
| Free Gingival Graft | D3310 | Usually the roof of the mouth (palate) | Increasing the thickness of gum tissue, not necessarily covering roots. | Creates a second surgical site on the palate. Can be more uncomfortable. |
| Subepithelial Connective Tissue Graft | D3330 | Underneath a flap in the palate | The “gold standard” for covering roots. Very predictable and natural-looking. | Most complex technique; requires a skilled surgeon. Also involves a palate donor site. |
Note: These codes are for reference. Always confirm your specific treatment plan with your provider.
The Financial Side: Cost, Insurance, and Your Investment
Let’s talk about money. This is often the most stressful part of any healthcare decision. While costs vary widely based on your location, the dentist’s experience, and the complexity of your case, we can give you a realistic ballpark.
What Does D3320 Typically Cost?
For a lateral pedicle graft, you can generally expect the cost to range from $800 to $3,000 per tooth.
Why such a wide range?
-
Geographic Location: A periodontist in downtown Manhattan will have higher overhead costs than one in a rural town.
-
Provider Type: A specialist (periodontist) will typically charge more than a general dentist performing the same procedure.
-
Complexity: Is it a straightforward case, or are there complicating factors like bone loss or severe inflammation?
Will Dental Insurance Cover D3320?
This is where things get nuanced. Dental insurance is primarily designed to prevent and treat disease, not for cosmetic enhancement.
-
Medical Necessity is Key: If the procedure is deemed “medically necessary” to stop disease progression, prevent tooth loss, or alleviate severe pain/sensitivity, insurance is much more likely to cover a portion of it. If it is deemed purely cosmetic (just to make the tooth look better), coverage is highly unlikely.
-
Typical Coverage: If approved, most dental insurance plans follow a “100-80-50” structure. Major surgical procedures like grafts usually fall into the lowest coverage tier. This means the plan might pay 50% of the “allowed amount,” leaving you responsible for the deductible and the remaining 50% coinsurance.
-
Annual Maximums: Remember that dental plans have an annual maximum benefit (often $1,000 to $2,000). This is the total amount the insurance company will pay in a year. If you have already had other work done, you may have less coverage available for this procedure.
Important Note: Before scheduling the procedure, ask your dentist’s office to submit a pre-determination of benefits (also called a pre-authorization) to your insurance company. This is not a guarantee of payment, but it gives you a written estimate of what they will cover, so there are no surprises later.
Options for Making it Affordable
If your insurance doesn’t cover the full cost, or if you don’t have insurance, don’t despair. There are options:
-
In-House Payment Plans: Many dental offices offer interest-free payment plans to help you spread the cost over several months.
-
Third-Party Financing: Companies like CareCredit or LendingClub offer healthcare-specific credit cards and loans. They often have promotional periods with no interest if you pay in full within a set time.
-
Health Savings Account (HSA) or Flexible Spending Account (FSA): You can use pre-tax dollars from these accounts to pay for the procedure, effectively giving you a discount on the cost.
Life After Surgery: Recovery and Healing
The success of your D3320 procedure doesn’t just depend on the surgeon’s skill; it heavily depends on how you take care of yourself afterward. The first two weeks are critical.
The First 24-48 Hours
-
Protect the Site: Absolutely do not touch the area with your tongue or fingers. Avoid pulling on your lip to look at it.
-
Ice, Ice, Baby: Apply an ice pack to the outside of your face (20 minutes on, 20 minutes off) to minimize swelling.
-
Rest: Keep your head elevated, even when sleeping, to reduce blood flow to the area and minimize throbbing.
-
Soft Foods: Stick to a diet of cool, soft foods. Yogurt, smoothies (no straw!), applesauce, and lukewarm soup are your best friends. Do not use a straw. The suction can dislodge the blood clot and ruin the graft.
-
Medication: Take any prescribed pain medication or antibiotics exactly as directed.
The Healing Timeline: A Week-by-Week Guide
-
Week 1: This is the most delicate time. You will stick to a soft food diet. You can gently rinse your mouth with a prescribed mouthwash or a warm saltwater rinse (starting 24 hours after surgery), but do not swish vigorously—just let the liquid fall out of your mouth over the sink. Avoid brushing near the surgical site.
-
Week 2: The swelling and any discoloration should start to subside. If you have non-dissolvable stitches, this is usually when they are removed. You can begin very gentle cleaning around the area with an extra-soft toothbrush.
-
Weeks 3-4: The tissue will start to look more normal and feel stronger. You can gradually return to your normal diet, but continue to be cautious when chewing near the site.
-
Months 3-6: The graft will have fully integrated with the surrounding tissue. The area will be stable and healthy. You will return to your dentist for a follow-up to ensure everything healed perfectly.
Foods to Embrace and Foods to Avoid
-
Do Eat: Mashed potatoes, scrambled eggs, oatmeal, pasta, fish, well-cooked vegetables, protein shakes.
-
Don’t Eat: Chips, nuts, seeds, steak, crusty bread, popcorn, spicy foods, or anything crunchy or chewy.
Success Rates and Long-Term Outlook
You are making an investment in your health, and you want to know it will last. The good news? Lateral pedicle grafts have a very high success rate, often cited in dental literature as being over 90% when performed on the right candidate.
Factors That Contribute to Long-Term Success
-
Excellent Oral Hygiene: Once the site is healed, keeping it clean is vital. Plaque buildup is the enemy of gum health.
-
Regular Dental Checkups: Your dentist will need to monitor the area to ensure the recession doesn’t return.
-
Controlling Risk Factors: If you grind your teeth, wearing a nightguard is essential. If you smoked before the surgery, this is the time to quit for good to protect your investment.
-
Gentle Brushing: Switch to a soft-bristled toothbrush and be mindful of your technique. An electric toothbrush with a pressure sensor can be a great investment.
With proper care, a successful gum graft can last for decades, effectively protecting the tooth root from decay and eliminating sensitivity for the long term.
Frequently Asked Questions (FAQ)
We’ve compiled some of the most common questions people have about Dental Code D3320.
Q: Is Dental Code D3320 painful?
A: The procedure itself is not painful due to the local anesthetic. Most patients report that the recovery is manageable. You will likely experience some discomfort, swelling, and tenderness for a few days, but this can be well-controlled with over-the-counter or prescribed pain medication as recommended by your dentist.
Q: How long does the D3320 procedure take?
A: The actual surgery time is relatively short. For a single-tooth lateral pedicle graft, you can expect to be in the chair for about 60 to 90 minutes. This includes the time for numbing, the procedure itself, and placing any final dressings.
Q: Can any dentist perform this surgery?
A: While a general dentist can perform this procedure, it requires a high level of skill and training. Most often, it is performed by a periodontist—a dentist who specializes in the prevention, diagnosis, and treatment of gum disease and the placement of dental implants. They have an extra 3+ years of specialized training.
Q: What happens if I don’t treat the gum recession?
A: Ignoring recession is a gamble. Exposed roots are not protected by enamel, making them highly susceptible to root decay. The area can also become increasingly painful. In advanced cases, the loss of gum and bone support can eventually lead to the tooth becoming loose and falling out.
Q: Will my dental insurance cover 100% of D3320?
A: It is highly unlikely that any major surgical procedure like a gum graft will be covered at 100%. Most PPO plans will cover it at 50% after you meet your deductible, up to your annual maximum. A pre-determination of benefits is the best way to get an accurate estimate for your specific plan.
Q: How soon can I go back to work after surgery?
A: Many patients take the day of the surgery off. Depending on your job, you might feel comfortable returning to work the next day. However, if your job involves a lot of talking or physical exertion, you may want to take 2-3 days to rest and let the initial healing begin.
Additional Resources
Navigating dental health can feel overwhelming, but you don’t have to do it alone. Here are some trusted resources for further reading and support.
-
American Academy of Periodontology (AAP): The AAP website is the gold standard for information on gum disease and treatment. They offer patient-friendly guides and a “Find a Periodontist” tool. (You can search for “perio.org” to find them).
-
Your Dentist or Periodontist: Never underestimate the power of a direct conversation. If you have questions about your specific case, your healthcare team is your best resource. They know your medical history and your oral condition better than anyone.
Conclusion
Understanding Dental Code D3320 doesn’t have to be a mystery. It represents a sophisticated, highly effective surgical solution for a very real problem: gum recession. By borrowing healthy tissue from a neighbor, this “lateral pedicle graft” offers a way to protect vulnerable roots, reduce sensitivity, and restore your oral health with a natural-looking result.
We’ve covered the why, the how, and the financial reality of the procedure. While the cost and recovery require commitment, the long-term benefit of preserving your natural teeth is an investment that pays dividends for a lifetime. If this code is on your treatment plan, you are now equipped with the knowledge to have an informed, confident conversation with your dental provider about the best path forward for your smile.