How To Clean Implants Dental Hygiene
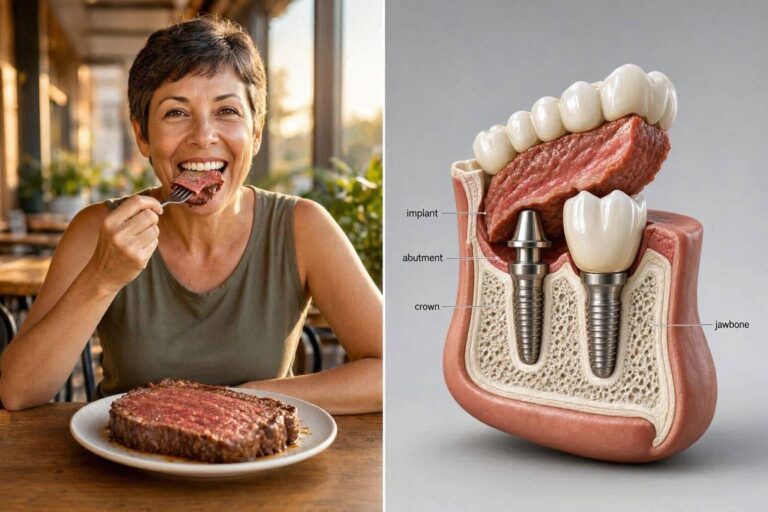
A dental implant is a marvel of modern medicine, but it is not a self-cleaning device. The long-term survival of your implant, and the bone that supports it, depends entirely on a discipline that must become as routine as breathing: a specific, evidence-based dental hygiene protocol. Cleaning a dental implant is fundamentally different from cleaning a natural tooth. The materials are different, the gum attachment is different, and the consequences of neglect are catastrophic bone loss that can silently destroy your investment. This guide is a comprehensive, step-by-step manual on how to clean implants, covering the specialized tools, the precise techniques, and the professional maintenance schedule that constitute the gold standard of implant dental hygiene. This is not just a cleaning routine; it is the biological contract you sign to keep your new teeth for a lifetime.
The Biological Imperative: Why Implant Hygiene Is Non-Negotiable
To commit to implant hygiene, you must first understand the enemy. The enemy is a sticky, invisible film of bacteria called biofilm. This biofilm forms continuously on every surface in the mouth, including the highly polished titanium abutment and the porcelain or zirconia crown. On a natural tooth, the gums attach to the root via the periodontal ligament, a resilient, vascular barrier that offers some defense against bacterial invasion. A dental implant has no such ligament. It is fused directly to the bone. The gum tissue around an implant forms a cuff that is more vulnerable, with a weaker, parallel-oriented collagen fiber attachment.
This biological vulnerability means that when biofilm is allowed to accumulate in the sulcus—the shallow crevice between the gum and the implant—the body’s inflammatory response is more destructive. The toxins released by the bacteria trigger peri-implant mucositis, a reversible inflammation of the gum. If the biofilm is not mechanically disrupted, it calcifies into rough, hardened calculus. The inflammation then extends deeper, destroying the bone that supports the implant. This is peri-implantitis, a progressive, often painless, and devastating disease. The bone loss is irreversible. The implant, once solid, can become loose and require surgical removal. The entire sequence is preventable with one simple, daily act: the thorough mechanical disruption of the biofilm before it can mature. Implant dental hygiene is not about a bright smile; it is about preserving the bone that holds the implant in your jaw. This is a medical necessity, not a cosmetic suggestion.
The Essential Implant Hygiene Toolkit
A standard toothbrush and string floss, the tools of natural tooth hygiene, are insufficient for the complex geometry of a dental implant and its restoration. You must assemble a dedicated toolkit. The following items are not optional; they are the standard of care for implant maintenance.
- Soft-Bristled Power Toothbrush (Sonic or Oscillating-Rotating): The primary tool for cleaning the visible surfaces of the implant crown and the surrounding gum tissue. A sonic brush creates a dynamic fluid action that can disrupt biofilm slightly beyond the reach of the bristles.
- Non-Abrasive Toothpaste or Gel: Formulated specifically for dental implants or labeled as low-abrasion. Standard whitening toothpastes contain silica particles that will scratch the polished surfaces of the crown and abutment, creating microscopic havens for bacteria.
- Implant-Specific Floss or Superfloss: A three-component floss with a stiff threader end, a soft, spongy middle section, and standard floss. The spongy section is designed to mechanically scrub the undersurface of implant bridges and the concave contours of the abutment.
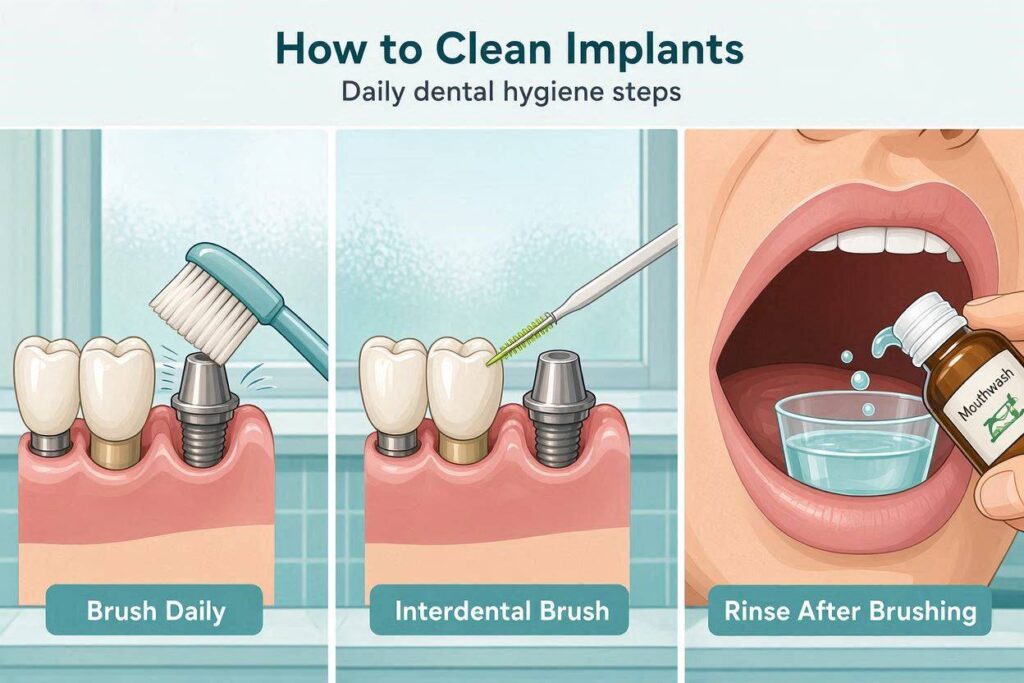
- Interdental Brushes (Proxabrushes) with Plastic-Coated Wire: Small, conical brushes for cleaning the vertical, concave surfaces of the implant abutment and the spaces between the implant crown and adjacent natural teeth. The wire core must be coated in plastic to prevent scratching the titanium.
- Water Flosser with a Rubber-Tip Irrigator: A countertop device that delivers a pulsating stream of warm water. This is a critical tool for hydraulically flushing biofilm and food debris from the intaglio surface of a fixed hybrid bridge, around locator abutments, and deep into the peri-implant sulcus.
- Non-Alcoholic, Non-Abrasive Mouthwash: A therapeutic rinse containing cetylpyridinium chloride or stabilized chlorine dioxide can help reduce the bacterial load in the mouth, but it is an adjunct, not a replacement for mechanical cleaning.
“I tell every implant patient that the water flosser is their new best friend. It does not replace the physical scrubbing of a brush or Superfloss, but it reaches the places those tools cannot touch. For a patient with a full-arch fixed bridge, it is the difference between a healthy implant and a slow-moving disaster. I recommend using it at least once a day, every day, no exceptions.” — A Dental Implant Hygienist with 20 Years of Experience
The Step-by-Step Daily Hygiene Protocol for a Single Implant Crown
A single-tooth implant crown is the most common implant restoration. It is a single, independent unit that replaces a missing tooth and is supported by a titanium post. Cleaning it requires a systematic approach that addresses every surface of the crown and the critical gumline interface.
Step 1: The Pre-Wash with the Water Flosser
Begin your nightly routine with the water flosser. Fill the reservoir with warm water. Use a standard jet tip or a rubber-tip irrigator. Set the pressure to a low-to-medium setting. Angle the tip at 90 degrees to the gumline and trace the entire circumference of the implant crown, both on the cheek side and the tongue side. Pause briefly in the interproximal spaces, the gaps between the implant and the adjacent teeth. The pulsating water will flush out large food particles and disrupt the loose, superficial biofilm, preparing the surfaces for mechanical brushing. This step takes about 30 seconds.
Step 2: The Abutment Scrub with an Interdental Brush
Select a Proxabrush of the correct diameter. It should pass into the space between the implant crown and the adjacent tooth with slight resistance, but without forcing. Insert the brush and scrub the abutment surface with an in-and-out motion several times. The goal is to clean the concave, curved surface of the titanium abutment where it emerges from the gum. This is a plaque trap zone. Repeat on the other side of the implant crown.
Step 3: The Circumferential Floss with Implant-Specific Floss
If your implant crown is a single unit not connected to a bridge, you can use a floss specifically designed for implants, which is wider and softer than standard floss. Wrap the floss into a C-shape around the implant crown. Gently slide it below the gumline and then use a shoeshine motion, pulling the floss back and forth against the abutment surface and the inner wall of the crown. This mechanically shears the biofilm from the critical subgingival zone. Do not snap the floss against the gum; use controlled, deliberate movements.
Step 4: The Power Brush
Apply a pea-sized amount of non-abrasive gel to your sonic toothbrush. Brush the implant crown and all adjacent teeth with a 45-degree angle directed at the gumline. Let the brush do the work. Hold each surface for a few seconds. Pay special attention to the tongue-side surface of the lower molars, a common site of calculus buildup. Brush the gum tissue around the implant gently, stimulating circulation.
Step 5: The Final Antimicrobial Rinse
Swish vigorously with a non-alcoholic mouthwash for 60 seconds. This reduces the remaining planktonic bacteria and leaves the mouth feeling clean. Do not eat or drink anything for 30 minutes after rinsing.
The Protocol for a Fixed Full-Arch Hybrid Bridge (All-on-X)
A full-arch fixed bridge, often called an All-on-4 or All-on-6, is a horseshoe-shaped prosthesis that replaces all the teeth on one arch. It is screwed into multiple implants and has a small, intentional space between the underside of the bridge (the intaglio surface) and the gum tissue. This space is the primary hygiene zone, and it is the most challenging area to clean.
The Underside Scrub: This is the non-negotiable step. Take a strand of Superfloss. Thread the stiff end under the most posterior aspect of the bridge and pull it through so the spongy, fuzzy section is under the bridge. Grip both ends of the floss and pull it tightly against the intaglio surface. Use a back-and-forth shoeshine motion, scrubbing the entire width of the underside. Move systematically from the back to the front, section by section. You must feel the friction of the spongy floss against the pink acrylic. If the floss glides through with no resistance, you are not engaging the surface effectively.
The Hydraulic Flush: After the mechanical scrub, use the water flosser with a rubber-tip irrigator. Direct the stream under the bridge from both the cheek side and the tongue side. You will see food debris and dislodged biofilm wash out. This combination of a physical scrub followed by a hydraulic flush is the evidence-based protocol for maintaining a healthy intaglio surface.
The Vertical Abutment Clean: Use the interdental brush to clean the vertical spaces between each implant abutment. These are the round, metal or zirconia posts that connect the bridge to the implants. Scrub each abutment thoroughly.
The Protocol for a Removable Implant Overdenture
A removable overdenture snaps onto locator abutments. It must be removed daily. Sleeping with the overdenture in place is a major risk factor for peri-implantitis.
Denture Care: Remove the overdenture. Fill the sink with water and place a towel to cushion a drop. Brush all surfaces of the denture with a soft denture brush and a non-abrasive denture cleaning gel. Soak the denture in a solution of warm water and a denture cleaning tablet for the manufacturer’s recommended time (usually 10-15 minutes). This chemically softens the dried-on biofilm on the intaglio surface and around the metal housings. After soaking, brush it again and rinse thoroughly with water. Never use hot water, which can warp the denture.
Abutment Care in the Mouth: With the overdenture removed, the locator abutments in your mouth are fully exposed. Use a soft toothbrush and a non-abrasive gel to gently brush each abutment. Use a water flosser to flush around each abutment, removing any soft debris. The goal is to keep the highly polished abutment surface free of any calcified buildup.
The table below provides a quick reference guide for which tools to use on which restoration.
| Implant Restoration Type | Primary Tool 1 | Primary Tool 2 | Adjunctive Tool | Frequency |
|---|---|---|---|---|
| Single Implant Crown | Sonic Toothbrush (soft) | Interdental Brush (plastic-coated) | Water Flosser | Twice daily (Water Flosser once daily) |
| Implant-Supported Bridge | Superfloss (spongy section) | Water Flosser (rubber tip) | Interdental Brush | Superfloss and Water Flosser once daily; brush twice daily |
| Full-Arch Fixed Hybrid (All-on-X) | Superfloss (shoeshine method) | Water Flosser (hydraulic flush) | Interdental Brush | Superfloss and Water Flosser once daily; brush twice daily |
| Removable Overdenture (Snap-In) | Soft Denture Brush & Non-Abrasive Gel | Denture Cleaning Tablet (soak) | Soft Brush for Locator Abutments | Daily denture removal, cleaning, and abutment brushing |
The Non-Negotiable Professional Maintenance Schedule
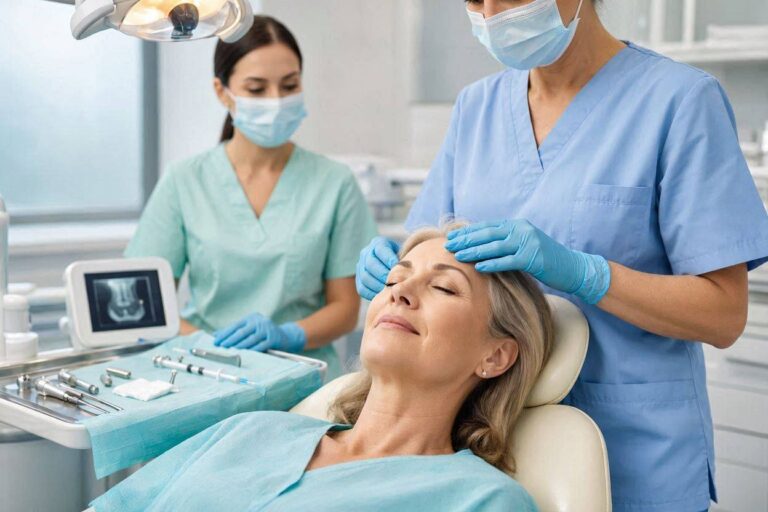
Your home care is essential, but it is not sufficient on its own. Dental implant maintenance requires a professional partner. You must see a qualified implant dental hygienist at an interval determined by your individual risk, typically every three to six months. This appointment is fundamentally different from a standard teeth cleaning.
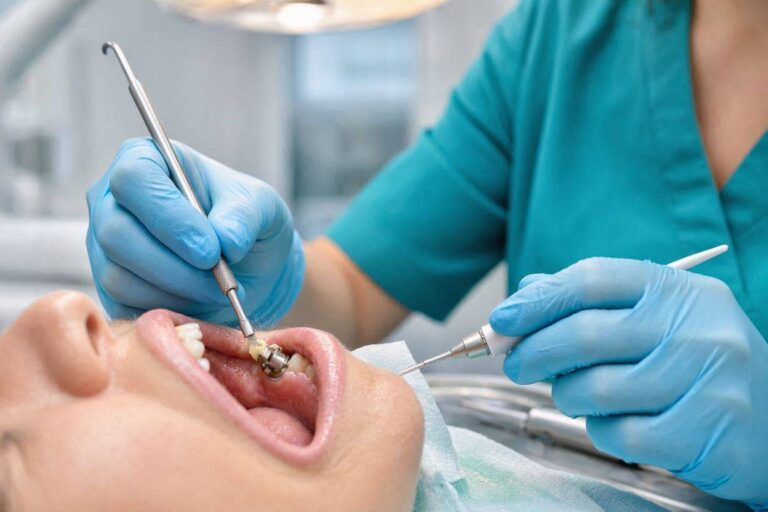
The implant hygienist will use specialized instruments made of materials softer than titanium, such as plastic, graphite, gold-tipped, or PEEK scalers, to carefully remove any hardened calculus deposits from the abutment surfaces and the intaglio of the prosthesis. A standard stainless steel scaler is never used on an implant, as it will scratch the surface. The hygienist will gently probe the gum cuff around each implant with a flexible plastic probe to measure the depth and check for bleeding, the cardinal sign of peri-implant mucositis. A radiographic assessment may be taken to monitor the bone levels around the implants. This visit is your biological insurance policy. A patient who religiously performs home care but skips professional maintenance will eventually develop peri-implant disease. The professional cleaning removes the calculus that you cannot reach, and the examination catches problems at the reversible mucositis stage, long before irreversible bone loss occurs.
Important Note: If you notice bleeding, a bad taste, pus, or a sudden feeling of looseness around your implant, do not wait for your next scheduled maintenance. These are signs of an active infection. Contact your implant dentist or periodontist immediately. Peri-implantitis can progress rapidly, and early intervention is critical to saving the implant.
Conclusion
Effective implant dental hygiene is a two-component system: a daily, at-home mechanical protocol using a sonic toothbrush, non-abrasive gel, plastic-coated interdental brushes, Superfloss for bridge undersides, and a water flosser for hydraulic flushing, all designed to disrupt bacterial biofilm before it calcifies; and a strictly adhered-to professional maintenance program every three to six months, where a hygienist using specialized non-metal instruments removes the calculus you cannot reach and monitors the health of the peri-implant tissues. The implant lacks the biological defenses of a natural tooth, making it completely unforgiving of neglect, and your daily cleaning ritual is the sole, non-negotiable determinant of whether your implant will last a lifetime or be lost to the silent, preventable disease of peri-implantitis.
Frequently Asked Questions (FAQ)
Q: Can I use a regular water flosser tip on my implant bridge?
A: Yes, a standard jet tip is effective for flushing the gumline. However, a specialized rubber-tip irrigator is even better for gently directing the stream into the peri-implant sulcus and under a fixed bridge without the risk of a hard plastic tip hitting the gum. Always use a low-to-medium pressure setting.
Q: Is mouthwash enough to clean around my implant if I don’t have time to floss?
A: No. Mouthwash is an adjunct, not a substitute for mechanical disruption. It can kill some surface bacteria, but it cannot penetrate and disrupt an established biofilm. Flossing or using an interdental brush is the irreplaceable core of implant hygiene.
Q: What is the best toothpaste for dental implants?
A: A non-abrasive, fluoride-containing toothpaste or gel with a low Relative Dentin Abrasivity (RDA) value. Avoid any toothpaste labeled as “whitening,” “tartar control,” or “baking soda,” as these contain abrasive particles that will scratch the polished surfaces of your implant crown and abutment.
Q: My dental implant has a screw access hole on the chewing surface. Do I need to clean inside it?
A: No. The screw access hole is sealed by your dentist with a sterile cotton pellet and a composite or acrylic filling material. It is a closed system. You should not attempt to clean inside it or probe it with any tool, as this can introduce bacteria or damage the abutment screw. Your dentist will access this hole only if the crown needs to be removed.
Additional Resource:
For detailed, independent guidance on peri-implantitis prevention, the International Team for Implantology (ITI) provides free consensus papers and patient resources: ITI Prevention of Peri-Implant Diseases.