Dental Office Background: A Complete Guide for a Professional Image
The background of your dental office does more than fill empty space. It shapes how patients feel, how your team works, and how your practice appears in photos, videos, and virtual meetings. A cluttered or dull background sends the wrong message. A clean, thoughtful background builds trust and reinforces your brand.
In today’s digital world, your background matters more than ever. Patients see your office in social media posts, telehealth calls, and online reviews. This guide covers every aspect of dental office backgrounds. You will learn about physical design choices, photography backdrops, and virtual backgrounds for video calls. By the end, you will know how to create a background that works hard for your practice.
Why Your Dental Office Background Matters
A background is never neutral. It communicates something to every person who sees it. Here is why you should treat it as a design priority.
- It Sets the First Impression: Patients form opinions within seconds. A clean, well-designed background signals professionalism and attention to detail.
- It Reduces Anxiety: Soft colors, natural textures, and uncluttered walls calm nervous patients. A chaotic background increases stress.
- It Protects Privacy: In photos and videos, a controlled background prevents patient information or messy areas from appearing on camera.
- It Reinforces Your Brand: Consistent colors and design elements make your practice recognizable across all platforms.
- It Improves Photo and Video Quality: A good background makes team photos, educational videos, and social media content look polished and credible.
“Your background is your silent brand ambassador. Before a patient reads a single word about your practice, they have already judged your background. Make sure it says the right thing.” — Rachel Kim, Dental Branding Specialist
Physical Backgrounds: Walls, Colors, and Textures
The most permanent background in your office is the physical space itself. Every wall, corner, and surface contributes to the overall impression.
Choosing the Right Wall Colors
Color is the foundation of any background. The right palette creates the mood you want.
| Color | Effect | Best Use |
|---|---|---|
| Soft Blue | Calm, trustworthy, professional | Operatories, reception |
| Sage Green | Natural, healing, soothing | Treatment rooms, hallways |
| Warm White | Clean, bright, neutral | Any area, especially small spaces |
| Light Gray | Modern, sophisticated, clean | Front office, consultation rooms |
| Soft Beige | Warm, welcoming, comfortable | Waiting rooms, reception |
Avoid bold, saturated colors on large walls. They can feel overwhelming and distract from your clinical work. Use accent walls for a pop of color instead.
Wall Textures and Materials
Texture adds depth and interest to a plain wall. Consider these options for a professional finish.
- Smooth Painted Drywall: Clean and simple. Easy to maintain and repaint.
- Wallpaper: Adds pattern and personality. Choose commercial-grade, scrubbable options.
- Wood Paneling: Warm and natural. Use light woods like birch or oak to avoid a dark, heavy feel.
- Stone or Brick Accents: Adds character and texture. Best used on a single feature wall.
- Acoustic Panels: Functional and modern. They reduce noise and come in many colors and shapes.
Note for Readers: Whatever wall finish you choose, ensure it meets infection control standards. Surfaces must be cleanable and resistant to moisture.
Decor and Display Elements
What you hang on your walls becomes part of your background. Choose items that support your brand and comfort your patients.
- Artwork: Choose calming landscapes, abstract art, or nature photography. Avoid images of teeth or dental tools, which can increase anxiety.
- Certificates and Licenses: Display them neatly and consistently. They build trust and credibility.
- Patient Education Boards: Use clean, well-designed boards to share oral health tips. Keep them updated and free of clutter.
- Plants: Real or high-quality artificial plants add life and warmth. They also improve air quality.
- Branded Signage: Your logo and practice name should appear prominently but tastefully.
Important Note: Keep your background clutter-free. A few well-chosen items make a stronger statement than a crowded wall. Less is always more.
Photography Backgrounds: Creating Great Practice Photos
Team photos, office tours, and patient testimonials all rely on a good background. A poorly chosen background distracts from the people in the photo.
Best Background Options for Dental Photography
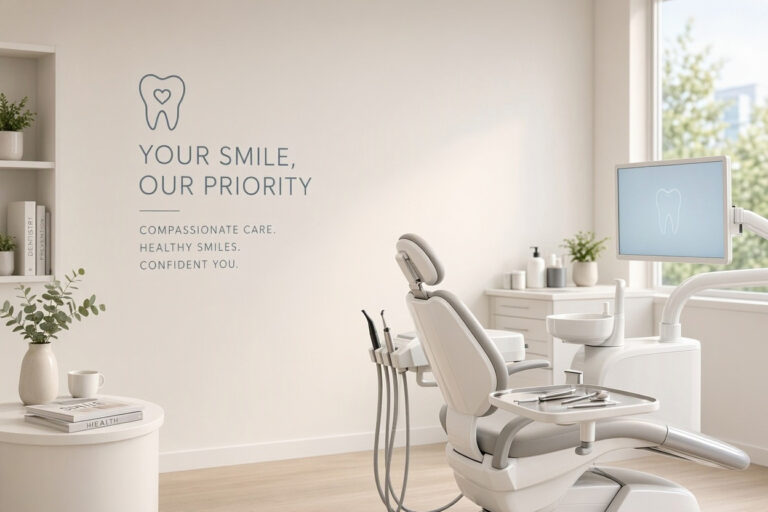
- A Clean, Branded Wall: A wall painted in your brand color with a tasteful logo or sign is ideal. It is professional and reinforces your identity.
- A Neutral Backdrop: A plain white, gray, or soft blue backdrop is timeless and versatile. It keeps the focus on the people.
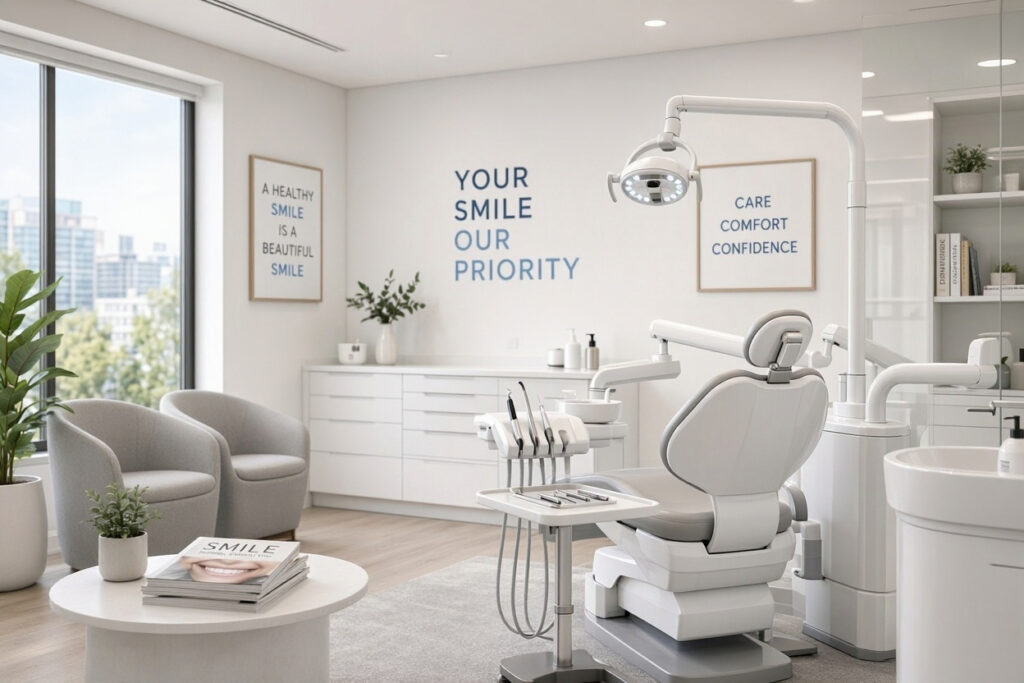
- A Reception or Operatory Setting: A well-lit, tidy treatment room can work well. Ensure all equipment is clean and organized.
- An Outdoor Setting: Natural light and greenery create a warm, approachable feel. Use this for team photos or casual content.
Tips for Better Photo Backgrounds
- Declutter first: Remove personal items, papers, and unnecessary equipment from the frame.
- Check the lighting: Harsh shadows or glare on walls look unprofessional. Use soft, diffused lighting.
- Mind the angles: A slight angle often looks more natural than a straight-on shot against a flat wall.
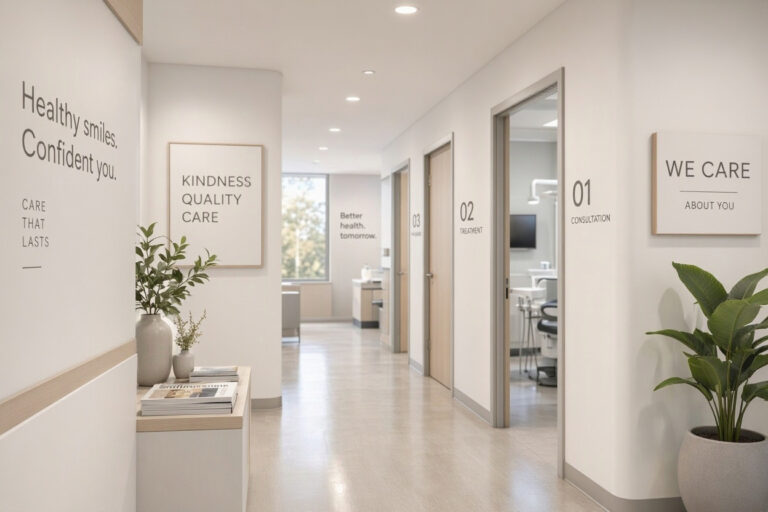
- Use depth: A background with some depth, like a hallway or a room with furniture, looks more interesting than a flat wall.
- Shoot at eye level: This makes subjects look confident and approachable.
Pro Tip: Create a dedicated “photo corner” in your office. Set it up with a branded backdrop, good lighting, and a clean floor. It makes consistent, professional photos easy to capture anytime.
Virtual Backgrounds: Looking Professional on Video Calls
Telehealth consultations, virtual team meetings, and online webinars are now common in dentistry. Your virtual background is just as important as your physical one.
Options for Virtual Backgrounds
| Option | Pros | Cons |
|---|---|---|
| Real Office Background | Authentic, builds trust | Can look messy; privacy risk |
| Branded Virtual Backdrop | Professional, on-brand | Can look artificial if poorly designed |
| Blurred Background | Hides clutter, easy to use | Less personal; can look unpolished |
| Plain Color Background | Clean and simple | Can feel cold and impersonal |
Designing the Perfect Virtual Background
- Use high-resolution images: A blurry background looks unprofessional.
- Include your logo: Place it subtly in a corner. Do not make it the main focus.
- Choose calming colors: Soft blues, greens, and grays work best.
- Add a subtle pattern: A light geometric or nature-inspired pattern adds interest without distraction.
- Test it before use: Check how it looks on camera. Ensure the lighting is even and your face is clearly visible.
Note for Readers: Avoid virtual backgrounds that are too busy or contain text that is hard to read. They distract viewers and reduce credibility. Always ensure your background does not contain any patient information or sensitive data.
Creating a Signature Background for Your Practice
A signature background is a recognizable visual element that appears in all your photos and videos. It ties your brand together and makes your practice instantly identifiable.
Elements of a Signature Background
- A Consistent Color Palette: Use your brand colors on walls, backdrops, and virtual backgrounds.
- A Recurring Design Motif: A subtle pattern, a specific type of artwork, or a signature plant arrangement.
- Your Logo Placement: Choose a consistent spot for your logo in photos and videos.
- A Prop or Furniture Piece: A distinctive chair, a branded sign, or a unique plant that appears in every shot.
“Consistency builds recognition. When patients see your signature background, they should instantly know it is your practice. This is how you build a brand that people remember.” — David Park, Brand Strategist
Common Background Mistakes to Avoid
Even well-intentioned practices make background mistakes. Here are the most common ones and how to fix them.
- Clutter: Papers, boxes, and personal items in the frame. Fix it by decluttering before every photo or video.
- Poor Lighting: Dark corners or harsh glare. Fix it with soft, even lighting.
- Patient Information Visible: Charts, screens, or whiteboards with patient names. Fix it by checking the frame carefully.
- Inconsistent Branding: Different colors and styles in every photo. Fix it with a brand style guide.
- Distracting Elements: Bright posters, blinking screens, or moving objects. Fix it by simplifying the background.
- Dirty Surfaces: Smudged walls, dusty shelves, or stained carpets. Fix it with regular cleaning.
Important Note: Always do a final check of your background before taking a photo or starting a video call. A quick scan can save you from an embarrassing mistake.
Frequently Asked Questions
What is the best background color for dental office photos?
Soft blue, sage green, warm white, and light gray are the safest choices. They are calming, professional, and photograph well. Avoid bright reds, oranges, and very dark colors.
How do I create a good virtual background for telehealth?
Use a high-resolution image of your office or a branded design with your logo. Keep it simple and uncluttered. Test it on camera before your first call. Ensure the background does not distract from your face.
Can I use my reception area as a photo background?
Yes, if it is clean, well-lit, and free of clutter. Ensure no patient information is visible. A tidy reception area makes a welcoming and authentic background.
How often should I update my background?
Refresh your seasonal decorations and marketing materials regularly. Update your virtual background whenever your branding changes. Physical walls can stay the same for years if they are well-maintained.
What should I avoid hanging on my dental office walls?
Avoid images of dental tools, bloody procedures, or anything that could increase anxiety. Also avoid religious or political items that could alienate patients. Stick to neutral, calming, and professional decor.
Conclusion
Your dental office background is a powerful tool for building trust and reinforcing your brand. Choose calming colors, keep spaces clutter-free, and create a consistent signature look for photos and video calls that reflects your practice’s professionalism and care.
Additional Resource
For more guidance on creating a patient-friendly dental environment, explore the resources from the American Dental Association on patient experience and practice design. https://www.ada.org/resources/practice/practice-management