Cover Screw Dental Implant: A Complete Guide for Patients
If you are exploring dental implants, you have probably heard terms like “abutment,” “fixture,” and “crown.” But there is a small but vital component that plays a key role behind the scenes: the cover screw dental implant.
This tiny screw often goes unnoticed, yet it is essential for a successful implant procedure. Without it, the bone and gum tissue would not heal correctly around the implant.
In this guide, we will walk you through everything you need to know. You will learn what a cover screw is, why it matters, how it differs from other implant parts, and what to expect during recovery. No complex jargon. Just honest, practical information.
What Is a Cover Screw Dental Implant?
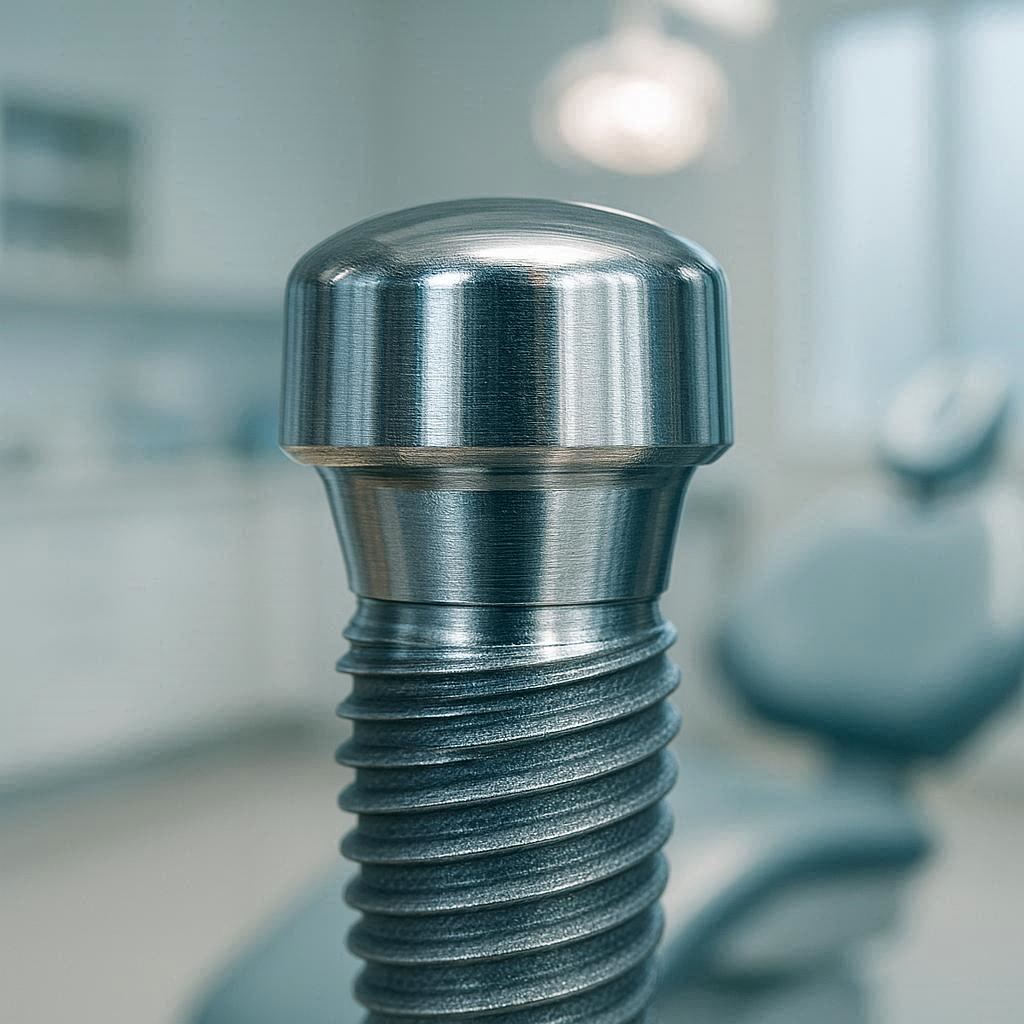
A cover screw is a small, sterile screw made of medical-grade titanium or titanium alloy. It is placed inside the top of a dental implant after the implant has been inserted into the jawbone.
Think of it as a protective cap. Its main job is to seal the internal connection of the implant. This prevents gum tissue, food particles, and bacteria from growing into the implant during the healing phase.
Key Features of a Cover Screw
- Material: Titanium (biocompatible and safe for bone integration)
- Size: Small, typically 1-3 mm in height
- Shape: Domed or flat top with a hexagonal or octagonal internal drive
- Usage: Temporary, removed after 3-6 months
The cover screw sits below the gum line. You will not see it when you open your mouth. Your dentist will need to make a small incision to access it later.
Important note: A cover screw is not the same as a healing abutment. We will clarify this difference later in the article.
Why Is a Cover Screw Necessary?
After a dental implant is placed into your jawbone, your body begins a natural process called osseointegration. This is where the bone grows tightly around the implant surface. It is the most critical phase of the entire treatment.
During osseointegration, the implant site must remain undisturbed. If gum tissue grows into the internal threads of the implant, it can cause:
- Infection
- Poor bone healing
- Implant failure
The cover screw prevents this by physically blocking the opening of the implant. It creates a clean, closed environment. The gum tissue can heal over the top of the screw without entering the implant body.
Additional Benefits
| Benefit | Explanation |
|---|---|
| Protects internal threads | Keeps the implant’s internal connection clean and intact |
| Supports bone healing | Allows undisturbed osseointegration |
| Prevents bacterial entry | Reduces risk of peri-implantitis |
| Easy removal | Designed for simple retrieval during second-stage surgery |
Without a cover screw, your dentist would have a much harder time ensuring a clean, predictable healing process.
When Is the Cover Screw Placed?
The cover screw is placed during the first stage of dental implant surgery. This is the same appointment when your dentist inserts the implant into your jawbone.
Here is what happens step by step:
Step 1 – Implant Fixture Placement
Your dentist drills a precise hole in the jawbone and inserts the implant fixture (the screw-like post).
Step 2 – Cover Screw Insertion
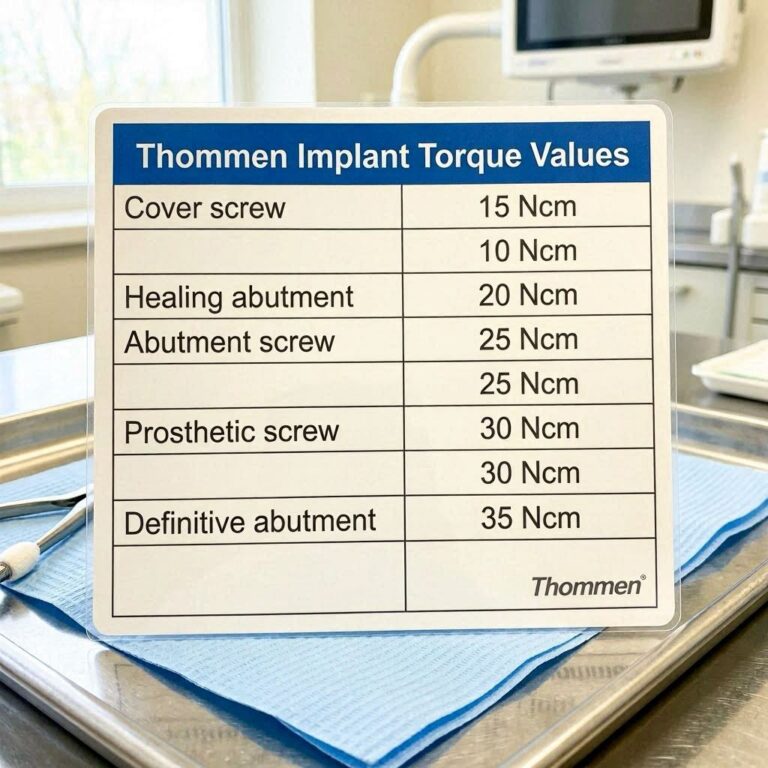
The dentist manually screws the cover screw into the internal threads of the implant. A special torque wrench may be used to ensure it is snug but not overtightened.
Step 3 – Gum Tissue Closure
The gum tissue is sutured (stitched) over the cover screw. The screw remains completely buried under the gum line.
Step 4 – Healing Period
You wait 3 to 6 months for osseointegration. During this time, you will not see or feel the cover screw.
Step 5 – Second Stage Surgery (Cover Screw Removal)
Once healing is complete, your dentist makes a small incision in the gum, removes the cover screw, and replaces it with a healing abutment (or directly with an impression coping).
At this point, your implant is ready to support a crown, bridge, or denture.
Cover Screw vs. Healing Abutment: What Is the Difference?
This is one of the most common points of confusion. Patients often mix up cover screws and healing abutments. They are similar in appearance but serve different functions.
Let us break it down.
| Feature | Cover Screw | Healing Abutment |
|---|---|---|
| Placement | Same day as implant placement | Usually 3-6 months later (second stage) |
| Position | Below gum line (buried) | Above gum line (visible during healing) |
| Purpose | Seals implant during osseointegration | Shapes gum tissue for final crown |
| Visibility | Hidden | Visible (if you look closely) |
| Patient maintenance | None | Keep clean with brushing |
| Removal | Replaced by healing abutment | Replaced by impression coping / crown |
Real talk: Some modern implant systems allow “one-stage surgery” where a healing abutment is placed immediately, and no cover screw is used. However, the traditional two-stage method with a cover screw is still very common, especially in areas with thinner bone or when aesthetics are less urgent.
Quotation from a Clinical Perspective
“The cover screw is the quiet hero of dental implantology. It does not shape gums or hold prosthetics, but without it, the entire healing phase would be vulnerable to contamination. For predictable results, never skip this step.”
— Dr. Elena Marchetti, implant dentist with 15 years of experience.
Types of Cover Screws
Not all cover screws are identical. They vary based on the implant system and manufacturer.
Common Variations
- Hex drive cover screws – Most common. Use a standard hexagonal driver.
- Octagonal drive cover screws – Found in some European implant systems.
- Torx drive cover screws – Require a star-shaped driver; less common.
- Flat top vs. domed top – Dome shape is easier for gum tissue to heal over.
Compatibility Matters
You cannot mix cover screws from different implant brands. A screw from Straumann will not fit a Nobel Biocare implant. Always use the manufacturer’s recommended component.
What Your Dentist Will Consider
- Implant platform diameter (narrow, regular, wide)
- Implant depth (how deep the screw needs to sit)
- Healing time (some screws allow faster uncovering)
Do not worry about choosing one yourself. Your dentist will select the correct type for your specific implant system.
The Healing Process with a Cover Screw
Understanding what happens during the healing phase helps reduce anxiety. You will not feel the cover screw at all. However, you should know what is normal and what is not.
Typical Timeline
| Time Period | What Happens |
|---|---|
| Day 1-7 | Mild swelling and discomfort from surgery. Cover screw is sealed. |
| Week 2-4 | Gum tissue heals over the screw. Sutures dissolve or are removed. |
| Month 2-3 | Bone begins fusing to implant. Cover screw remains undisturbed. |
| Month 4-6 | Bone integration is complete. Ready for second-stage surgery. |
Healing Checklist for Patients
- Take prescribed antibiotics as directed
- Use ice packs for the first 48 hours
- Eat soft foods for 7-10 days
- Do not smoke (smoking severely impairs osseointegration)
- Avoid disturbing the surgical site with your tongue or fingers
- Keep follow-up appointments for X-rays
Signs of a Problem (Contact Your Dentist)
- Persistent bleeding beyond 3 days
- Severe pain that worsens instead of improves
- Unpleasant taste or discharge from the site
- Fever or chills
These symptoms are rare but can indicate infection around the cover screw or implant.
Second-Stage Surgery: Removing the Cover Screw
Once osseointegration is confirmed (usually via X-ray), your dentist will schedule a minor procedure to remove the cover screw and expose the implant.
What to Expect
- Local anesthesia – The area is numbed. You will feel pressure but no pain.
- Small incision – Your dentist cuts through the gum tissue over the cover screw.
- Screw removal – A hand driver or slow-speed handpiece removes the cover screw.
- Healing abutment placement – A healing abutment is screwed into the implant.
- Sutures (optional) – Some dentists suture the gum around the abutment; others leave it open to heal.
Recovery After Second-Stage Surgery
- Minimal discomfort (much less than the first surgery)
- Gum tissue heals around the healing abutment in 2-4 weeks
- You may feel a small metal post with your tongue – this is normal
After the gum heals, you are ready for impressions and your final crown.
Cost of Cover Screw Dental Implant Procedures
Here is an honest look at costs. The cover screw itself is inexpensive. However, the procedures involving it add to the total bill.
| Item | Estimated Cost (USD) |
|---|---|
| Cover screw (component only) | 25–75 |
| First-stage surgery (implant + cover screw) | 1,500–3,000 per implant |
| Second-stage surgery (exposure + healing abutment) | 200–500 |
| Full implant + crown (complete treatment) | 3,000–6,000 |
Important: Dental insurance often covers part of implant surgery, but cover screws are usually bundled into the surgical fee. Ask for a written treatment plan with itemized costs.
Ways to Save
- Dental schools (lower costs, longer appointments)
- In-network insurance providers
- Payment plans through your dentist’s office
- Dental tourism (only if you can commit to follow-up care)
Never choose an implant provider based solely on price. Cheap implants with incorrect cover screw placement can fail, costing you more in the long run.
Common Questions About Cover Screws
Let us address the most frequent questions patients ask.
Can a cover screw fall out?
Rarely. If it happens, it is usually because it was not tightened enough during surgery. Your dentist will notice this on a follow-up X-ray. The gum tissue may heal into the implant, which requires careful cleaning before placing a new screw.
Does removing a cover screw hurt?
No. The area is completely numb. You will feel vibration and pressure but no sharp pain. Over-the-counter pain relievers are usually enough after the numbness wears off.
Can I see or feel the cover screw?
No. It is buried under your gum tissue. If you feel something hard, it is likely the implant body or bone, not the screw.
How long does a cover screw stay in place?
Typically 3 to 6 months. In complex cases with poor bone quality, some dentists leave it for 8 months or longer.
What if I need an MRI or CT scan?
Titanium is non-ferromagnetic, so cover screws are safe for MRI and CT scans. However, always inform the technician about any metal implants in your body.
Possible Complications and Risks
While cover screws are safe, no medical procedure is risk-free. Being informed helps you spot problems early.
Infection (Peri-Implantitis)
Bacteria can sometimes find their way around the cover screw if the initial closure was not perfect. Symptoms include redness, swelling, and a bad taste.
Bone Loss Over the Cover Screw
In rare cases, the bone heals over the top of the cover screw, making it difficult to locate. Your dentist may need a surgical guide or X-ray to find it.
Screw Stripping
If the internal drive of the cover screw is damaged during placement or removal, it may become stuck. Retrieval tools exist, but this adds time and cost.
Allergic Reaction
Extremely rare with titanium. If you have a known metal allergy (e.g., nickel, cobalt), ask about zirconia implants or testing before surgery.
Note: Most complications come from improper handling by the dentist, not from the cover screw itself. Choose an experienced implant surgeon.
Cover Screws in Different Implant Systems
Different brands have slightly different designs. Here is a quick reference for popular systems.
| Implant System | Cover Screw Features | Driver Type |
|---|---|---|
| Straumann | Color-coded by height | Torx or hex |
| Nobel Biocare | Flat top, very low profile | Hex |
| Zimmer Biomet | Domed top, self-guiding | Hex |
| BioHorizons | Laser-marked for depth | Hex |
| Dentsply Sirona | Octagonal drive | Octagon |
| Hiossen | Wide platform options | Hex |
Your dentist will use the matching driver and screw. Never reuse a cover screw from a previous patient. They are single-use sterile components.
Patient Experience: Realistic Expectations
Let us paint a realistic picture of what you will go through.
The Good
- The cover screw phase is completely painless (you will forget it is there)
- No daily maintenance required
- High success rate when healing guidelines are followed
The Less Good
- Two surgeries instead of one
- An extra waiting period before your final crown
- If the gum heals too thickly, a second incision may be needed
Who Is a Good Candidate for a Two-Stage Implant with a Cover Screw?
- Patients with thin gum tissue
- Areas requiring bone grafting
- Posterior (back) teeth where aesthetics are less critical
- Anyone who cannot clean around a healing abutment due to mobility issues
For healthy patients with thick gums and good bone, some dentists skip the cover screw and use a healing abutment immediately. Ask your dentist which method fits your case.
How to Prepare for Surgery Involving a Cover Screw
Preparation reduces stress and improves outcomes.
Before First-Stage Surgery
- Complete any required bone grafting months in advance
- Stop smoking (ask your dentist for resources)
- Arrange time off work (2-3 days for recovery)
- Fill antibiotic and painkiller prescriptions beforehand
- Eat a light meal before your appointment unless instructed otherwise
Before Second-Stage Surgery
- Confirm that your healing time is complete (X-ray review)
- Brush normally but avoid flossing near the site
- Ask if you need a driver’s license for sedation (usually not needed)
Questions to Ask Your Dentist
- “Will you use a cover screw or a healing abutment immediately?”
- “How long do you recommend burying the cover screw?”
- “Do you use a torque wrench for the cover screw?”
- “What brand of implant and cover screw do you use?”
- “Can I see an X-ray of the cover screw in place after surgery?”
A transparent dentist will answer all these questions without hesitation.
Cover Screw Removal: Step-by-Step Visual Guide (Text Description)
Since we cannot include images here, let us describe exactly what happens.
Step 1 – Numbing
Your gums are injected with local anesthetic. You wait 5-10 minutes.
Step 2 – Incision
A small circular or linear cut is made directly over the cover screw location. This is guided by the healing cap’s impression on the gum or by X-ray.
Step 3 – Locating the Screw
The dentist uses a probe to feel for the screw’s top. A sterile saline rinse clears the area.
Step 4 – Inserting the Driver
A hand driver (no drill) is inserted into the screw’s internal hex or Torx drive.
Step 5 – Unscrewing
The cover screw is turned counterclockwise. It comes out easily because it is not torqued tightly.
Step 6 – Inspection
The dentist checks that no debris or soft tissue remains inside the implant.
Step 7 – Placing the Healing Abutment
A healing abutment is screwed in immediately to maintain the opening.
The entire procedure takes 10 to 20 minutes.
Frequently Asked Questions (FAQ)
Is a cover screw always necessary?
No. Some implant protocols use a one-stage approach with a healing abutment placed immediately. However, the cover screw is preferred when you want a completely submerged, protected healing environment.
Can a cover screw cause pain?
Not by itself. If you feel throbbing or sharp pain months after surgery, something else is wrong (infection, failed osseointegration, or a loose implant).
How do I clean around a cover screw?
You do not. Because it is buried under the gum, you never clean it. Your body’s natural healing keeps it isolated.
Will my insurance cover the cover screw removal?
Yes, as part of the implant exposure procedure (CPT code D6010 or D6100 depending on the system). Check your plan.
What happens if the cover screw is left in too long?
It can become overgrown by bone. Your dentist may need a small bone drill to expose it. This is still treatable but adds a few minutes to the procedure.
Additional Resources
For more reliable, patient-friendly information about dental implants and healing components, visit the American Academy of Implant Dentistry’s patient education page.
👉 Resource link: American Academy of Implant Dentistry – Patient Information
Disclaimer: This link leads to a trusted professional organization. Always verify any medical information with your personal dentist.
Conclusion
The cover screw dental implant is a small but critical component that protects the implant during the bone healing phase. It is placed at the same time as the implant, remains hidden under the gum for 3 to 6 months, and is later removed to make way for a healing abutment and final crown. Understanding its role helps you make informed decisions, follow proper healing protocols, and communicate clearly with your dentist for a successful implant outcome.
Disclaimer: This article is for informational purposes only and does not constitute medical advice. Dental implant procedures vary based on individual anatomy, health conditions, and clinical judgment. Always consult a licensed dentist or oral surgeon for a personalized treatment plan.