Dental Clinic Board Design: A Complete Guide
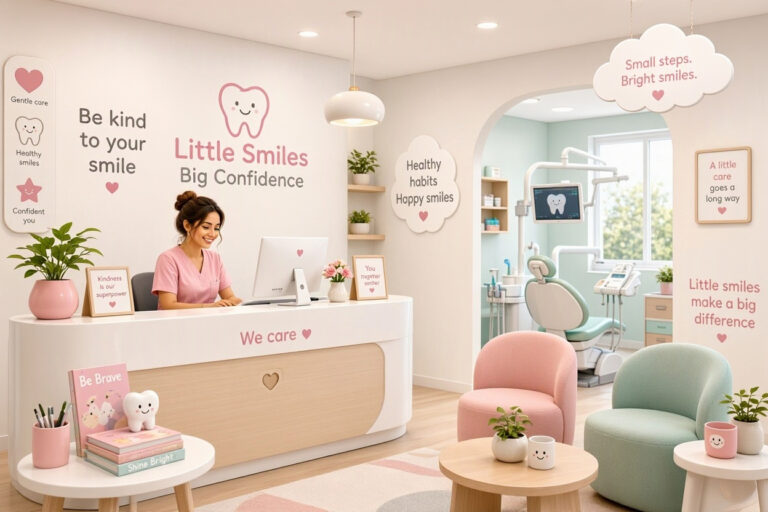
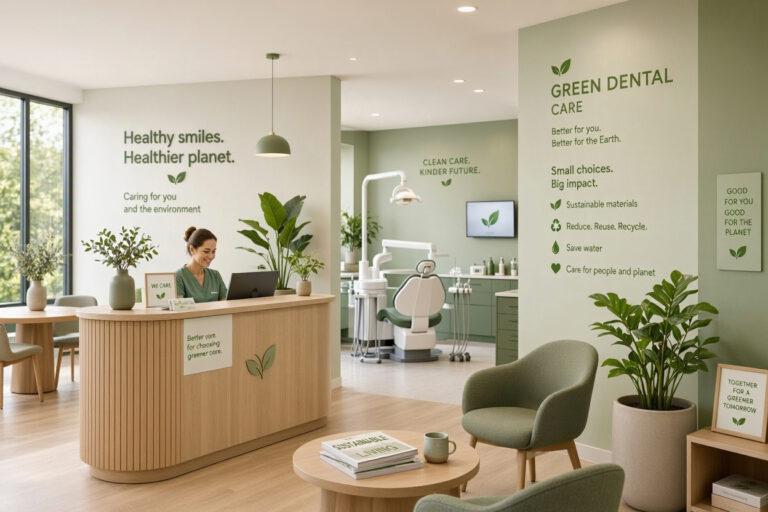
A dental clinic board is more than a decorative element. It is a communication tool, a branding opportunity, and a way to educate patients. From the moment someone walks into your practice, boards guide them, inform them, and reassure them. A well-designed board reduces confusion, builds trust, and enhances the overall patient experience.
Many clinics overlook the power of good board design. They hang generic posters or cluttered noticeboards that do little to help patients. But a strategic, well-designed board can transform your waiting room and treatment areas. It can answer common questions, highlight your services, and even reduce anxiety.
This guide covers everything you need to know about dental clinic board design. You will learn about the different types of boards, design principles, content ideas, and practical tips. By the end, you will have a clear plan to create boards that work hard for your practice.
Why Dental Clinic Boards Matter
Boards serve several important functions in a dental practice. They are not just wall decorations. They are active parts of your patient communication strategy.
They guide patients through your office. Clear signage helps people find the restroom, the treatment rooms, and the exit without asking for help. This reduces stress for patients and saves time for your staff.
They educate patients about oral health. A well-designed board can share tips on brushing, flossing, and nutrition. It can explain procedures and answer common questions. This empowers patients to take better care of their teeth.
They build trust and credibility. Displaying your team’s credentials, patient testimonials, and before-and-after photos shows that you are professional and transparent. Patients feel more confident when they know who you are and what you stand for.
They reinforce your brand. Consistent colors, fonts, and imagery on your boards create a cohesive look that patients remember. Every board is a chance to strengthen your brand identity.
They reduce anxiety. A calming, well-organized board can distract nervous patients and make the waiting room feel less clinical. Informative content gives patients something to focus on instead of their worries.
“A dental clinic board is a silent member of your team. It communicates with patients even when no one is at the front desk. Make sure it says the right things.” — Dr. Susan Blake, Dental Practice Consultant
Types of Dental Clinic Boards
Different areas of your practice need different types of boards. Here is a breakdown of the most common types and their purposes.
1. Welcome and Information Boards
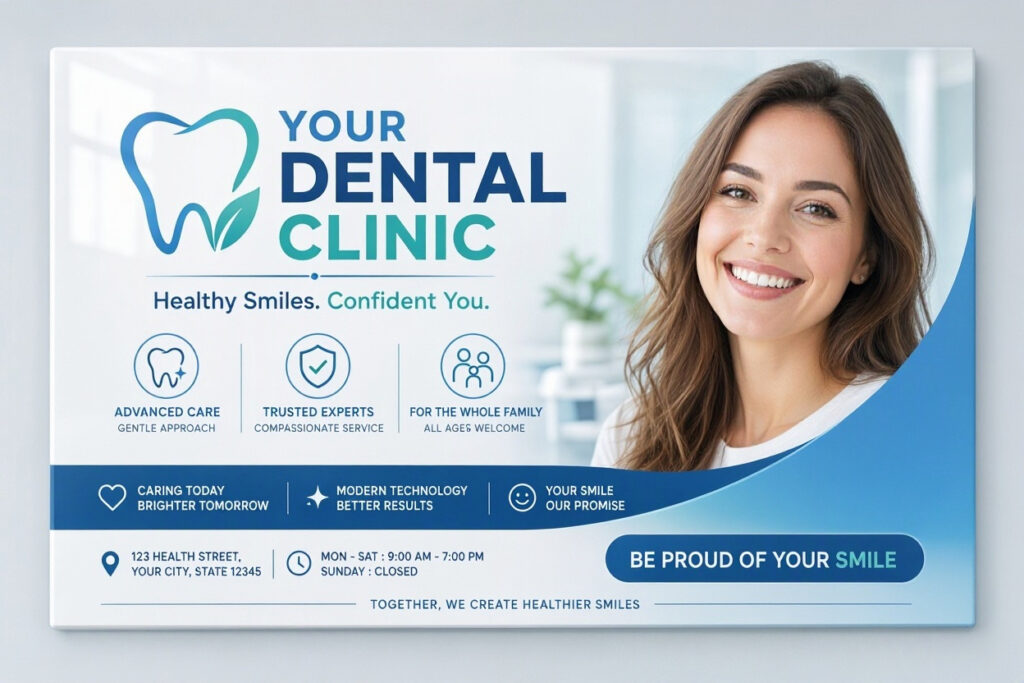
These boards greet patients and provide essential information. They typically include your practice name, logo, hours of operation, and contact details. They may also include a map of the office and a list of services. Place these boards in the reception area where they are immediately visible.
2. Wayfinding and Directional Boards
These boards help patients navigate your office. They include arrows, room numbers, and department names. Use high-contrast colors and large, easy-to-read fonts. Place them at decision points like hallways and intersections.
3. Patient Education Boards
These boards teach patients about oral health. Topics include proper brushing techniques, the importance of flossing, healthy eating habits, and explanations of common procedures. Use clear images and simple language. Place them in waiting rooms and treatment rooms.
4. Team and Credentials Boards
These boards introduce your team and display their qualifications. Include photos, names, titles, and a short bio for each team member. This builds trust and helps patients feel more connected to your practice. Place them in the reception area.
5. Testimonial and Review Boards
These boards showcase positive feedback from patients. Include quotes, star ratings, and first names or initials. This provides social proof and reassures new patients. Place them where patients wait.
6. Service and Promotion Boards
These boards highlight your services, special offers, and new technologies. Use attractive visuals and clear pricing if appropriate. Place them in the reception area and on your website.
7. Seasonal and Holiday Boards
These boards celebrate holidays and seasons. They add warmth and personality to your office. Use them to share seasonal health tips or community events. Rotate them regularly to keep the content fresh.
| Board Type | Purpose | Best Location |
|---|---|---|
| Welcome & Information | Greet patients, share essentials | Reception area |
| Wayfinding | Help patients navigate | Hallways, intersections |
| Patient Education | Teach oral health tips | Waiting rooms, treatment rooms |
| Team & Credentials | Build trust, introduce staff | Reception area |
| Testimonials | Provide social proof | Waiting rooms |
| Services & Promotions | Highlight offerings | Reception, website |
| Seasonal | Add warmth, celebrate | Throughout the office |
Note for Readers: Avoid overcrowding any single board. Choose the most important information and present it clearly. A cluttered board is ignored. A focused board is read.
Design Principles for Effective Boards
Good board design is not about being artistic. It is about being clear, readable, and useful. Follow these principles to create boards that work.
1. Use a Clear Hierarchy
Your most important message should be the largest and most prominent. Secondary information should be smaller. Use size, color, and placement to guide the viewer’s eye. For example, on a welcome board, your practice name and logo should be the largest elements. Hours and contact details come next. Smaller details like a map or service list are tertiary.
2. Choose Readable Fonts
Use clean, sans-serif fonts like Arial, Helvetica, or Open Sans. Avoid decorative fonts that are hard to read from a distance. Use a minimum font size of 24 points for headings and 14 points for body text. Ensure high contrast between text and background. Dark text on a light background is the safest choice.
3. Stick to Your Brand Colors
Use the same colors as your logo and website. This creates a cohesive look and reinforces your brand. Use a neutral background (white, light gray, or cream) and your brand color for accents and headings. Avoid using too many colors, which can look chaotic.
4. Use High-Quality Images
Blurry or pixelated images look unprofessional. Use high-resolution photos of your team, your office, and relevant dental topics. Avoid generic stock photos that look fake. Real photos of your practice build more trust.
5. Keep It Simple
Less is more. Remove any content that is not essential. Use white space generously. A clean, uncluttered board is easier to read and more attractive. If a board feels crowded, split the content into two boards or remove less important items.
6. Make It Accessible
Ensure your boards are readable for everyone. Use large text, high contrast, and simple language. Consider adding braille or tactile elements for visually impaired patients. Place boards at eye level for easy reading.
“The best board design is invisible. Patients do not notice the design because it works so well. They simply get the information they need without effort.” — Rachel Kim, Dental Branding Specialist
Content Ideas for Dental Clinic Boards
What should you actually put on your boards? Here are some proven content ideas for each type of board.
Welcome Board Content Ideas
- Practice name and logo
- A warm welcome message
- Hours of operation
- Phone number and website
- A map of the office
- A list of services
- Insurance accepted
- A QR code for online booking
Patient Education Board Content Ideas
- Step-by-step brushing guide
- Flossing techniques
- The link between oral health and overall health
- Foods that are good and bad for teeth
- What to expect during a cleaning
- How to care for a child’s teeth
- The importance of regular checkups
- Tips for managing dental anxiety
Team Board Content Ideas
- Photos of each team member
- Names, titles, and roles
- A short bio or fun fact for each person
- Years of experience
- Professional credentials and certifications
- A quote from each team member about why they love their job
Testimonial Board Content Ideas
- Quotes from satisfied patients
- Star ratings from Google or Yelp
- Before-and-after photos (with patient consent)
- Short video testimonials (if you have a screen)
- A call to action: “Share your experience!”
Wayfinding Board Content Ideas
- Arrows pointing to key areas
- Room numbers and department names
- A “You are here” map
- Emergency exit routes
- Restroom locations
- Reception and checkout locations
Designing for Digital Boards
Many dental offices now use digital screens instead of printed boards. Digital boards offer several advantages. They are easy to update, can display video and animation, and can rotate content throughout the day.
Tips for Digital Board Design
- Use large, bold text that is readable from a distance.
- Rotate content every 10 to 15 seconds to keep attention.
- Use high-quality images and video.
- Keep the design clean and uncluttered.
- Ensure the screen is positioned at eye level and not in direct sunlight.
- Update content regularly to keep it fresh.
- Include a mix of education, promotion, and welcome messages.
Note for Readers: Digital boards require regular maintenance. Ensure the screen is clean, the content is current, and the system is working properly. A blank or outdated screen looks worse than no screen at all.
Common Board Design Mistakes to Avoid
Even well-intentioned boards can go wrong. Here are the most common mistakes and how to fix them.
- Overcrowding: Too much text or too many images make a board hard to read. Fix it by simplifying and focusing on one key message per board.
- Poor Readability: Small fonts, low contrast, or decorative fonts make boards inaccessible. Fix it by using large, clean fonts and high contrast.
- Outdated Content: Old promotions and expired information look unprofessional. Fix it by scheduling regular updates.
- Inconsistent Branding: Different colors, fonts, and styles make your office look disorganized. Fix it with a brand style guide for all boards.
- Poor Placement: A beautiful board in a low-traffic area will not be seen. Fix it by placing boards where patients actually look.
- Neglecting Maintenance: Dusty frames, peeling corners, and fading prints look bad. Fix it with regular cleaning and replacement.
- Ignoring Accessibility: Boards that are too high, too small, or too complex exclude some patients. Fix it by following accessibility guidelines.
“The most common mistake I see is trying to say too much on one board. Patients do not read long paragraphs on a wall. They scan. Keep it short, clear, and focused.” — Mark Reynolds, Healthcare Signage Designer
Budgeting for Dental Clinic Boards
Board design does not need to be expensive. Here is a simple budgeting framework.
| Board Type | Estimated Cost | Notes |
|---|---|---|
| Printed Posters | $20 – $100 each | Affordable, easy to update |
| Framed Prints | $50 – $200 each | Professional, durable |
| Custom Acrylic Boards | $100 – $500 each | Modern, high-end look |
| Digital Screens | $300 – $1,500 each | Versatile, easy to update |
| Wayfinding Signs | $20 – $150 each | Essential for navigation |
| Team Photo Boards | $100 – $300 each | Builds trust and connection |
Pro Tip: Start with the most important boards: welcome, wayfinding, and patient education. Add more boards as your budget allows. Always prioritize quality over quantity.
Frequently Asked Questions
What is the most important board in a dental clinic?
The welcome and information board is the most important. It greets patients and provides essential details like hours, contact information, and services. It sets the tone for the entire visit.
How often should I update my dental clinic boards?
Update seasonal and promotional boards monthly or quarterly. Update educational content every six months. Update team boards when staff changes. Always replace outdated or damaged boards immediately.
Should I use printed boards or digital screens?
It depends on your budget and needs. Printed boards are affordable and easy to start with. Digital screens are more versatile and easier to update. Many practices use a mix of both.
How do I make my boards accessible to visually impaired patients?
Use large, high-contrast text. Place boards at eye level. Consider adding braille or tactile elements. For digital boards, ensure the screen is large and the text is clear.
Can I include patient testimonials on my boards?
Yes, but always get written consent from the patient. Use first names and initials only. Avoid sharing any protected health information. Testimonials are powerful social proof.
What should I avoid putting on my dental clinic boards?
Avoid overly complex graphics, small text, outdated information, and cluttered layouts. Avoid controversial or political content. Avoid images of dental procedures that could increase anxiety.
Conclusion
A well-designed dental clinic board is a powerful tool for patient communication, education, and branding. By choosing the right types of boards, following design principles, and keeping content fresh, you can create boards that guide, inform, and reassure every patient who walks through your door.
Additional Resource
For more guidance on creating effective patient communication materials, explore the resources from the American Dental Association on patient education. https://www.ada.org/resources/ada-library/oral-health-topics