Dental Office Lighting: A Complete Design and Functionality Guide
Lighting is one of the most powerful elements in dental office design. It affects how patients feel, how accurately dentists work, and how much energy your practice consumes. The right lighting creates a calm, professional environment. The wrong lighting causes glare, eye strain, and anxiety.
Many practice owners treat lighting as an afterthought. They install standard fluorescent fixtures and move on. But thoughtful lighting design can transform your space. It improves clinical outcomes, reduces patient stress, and even saves money on energy bills.
This guide covers everything you need to know about dental office lighting. You will learn about the different types of lighting, the best color temperatures, and practical tips for every area of your practice. By the end, you will have a clear plan to illuminate your office beautifully and functionally.
Why Lighting Matters in a Dental Office
Lighting serves multiple purposes in a dental practice. It is not just about visibility. It affects mood, safety, and even clinical accuracy.
- It Reduces Patient Anxiety: Soft, warm lighting calms nervous patients. Harsh, flickering lights increase stress and make the environment feel institutional.
- It Supports Clinical Precision: Dentists and hygienists need bright, focused light to examine teeth and perform procedures. Poor lighting leads to errors and fatigue.
- It Improves Staff Well-Being: Good lighting reduces eye strain, headaches, and fatigue. This improves productivity and job satisfaction.
- It Enhances Safety: Well-lit hallways and operatories prevent accidents. Dark corners and shadows are hazards.
- It Saves Energy: Modern LED lighting uses far less energy than traditional bulbs. This reduces your operating costs and carbon footprint.
- It Reinforces Your Brand: Lighting sets a mood. Warm, inviting light makes your practice feel welcoming. Cool, bright light feels clinical and efficient. Choose the mood that matches your brand.
“Lighting is the silent architect of atmosphere. In a dental office, it can either soothe a nervous patient or amplify their fear. The difference is entirely in the design.” — Dr. Amanda Reid, Dental Office Design Specialist
Key Lighting Principles for Dental Offices
Before choosing fixtures, understand the core principles of good lighting design. These apply to every area of your practice.
1. Layering
Good lighting uses multiple layers. Ambient lighting provides general illumination. Task lighting focuses on specific work areas. Accent lighting adds depth and visual interest. Decorative lighting adds style. Layer these together for a balanced, functional space.
2. Color Temperature
Color temperature is measured in Kelvin (K). It describes how warm or cool a light appears. For dental offices, the ideal range is 3000K to 4000K. This provides a neutral, natural light that is both calming and clinically accurate.
| Color Temperature | Appearance | Best Use |
|---|---|---|
| 2700K – 3000K | Warm white | Waiting rooms, reception, hallways |
| 3500K – 4000K | Neutral white | Operatories, treatment rooms |
| 5000K – 6500K | Cool white / daylight | Clinical exams, color matching |
3. Color Rendering Index (CRI)
CRI measures how accurately a light source renders colors. A high CRI (90+) is essential for dental work. It ensures that tooth shades and tissue colors appear natural and accurate. Low CRI lighting can lead to misdiagnosis and poor shade matching.
4. Glare Control
Glare is a major problem in dental offices. It causes eye strain for staff and discomfort for patients. Use diffusers, shields, and indirect lighting to control glare. Avoid bare bulbs and highly reflective surfaces.
5. Dimmability
Dimmers give you control over light levels. They are essential in operatories where different procedures require different lighting. They also help create a relaxing atmosphere in the evening or during less busy times.
Note for Readers: Always consult a lighting designer or electrician when planning your dental office lighting. They can help you meet local building codes and energy efficiency standards.
Lighting by Area: A Room-by-Room Guide
Different areas of your practice have different lighting needs. Here is a detailed breakdown.
Reception and Waiting Room
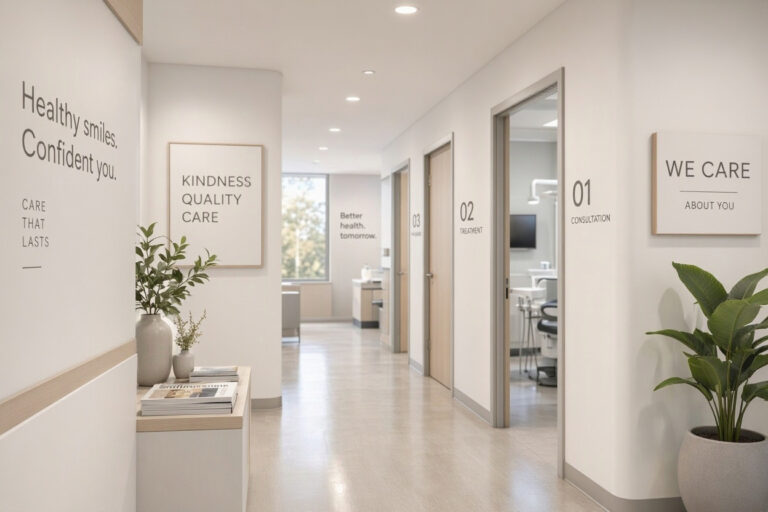
The waiting room is where patients form their first impression. Lighting here should be warm, welcoming, and calming.
- Ambient Lighting: Use recessed ceiling lights or pendant fixtures with warm white bulbs (3000K). Avoid harsh downlights that create shadows.
- Accent Lighting: Add wall sconces or table lamps for a cozy, home-like feel.
- Natural Light: Maximize natural light with large windows and sheer curtains. Natural light reduces anxiety and improves mood.
- Avoid: Fluorescent tubes, cool white bulbs, and flickering lights.
Operatories and Treatment Rooms
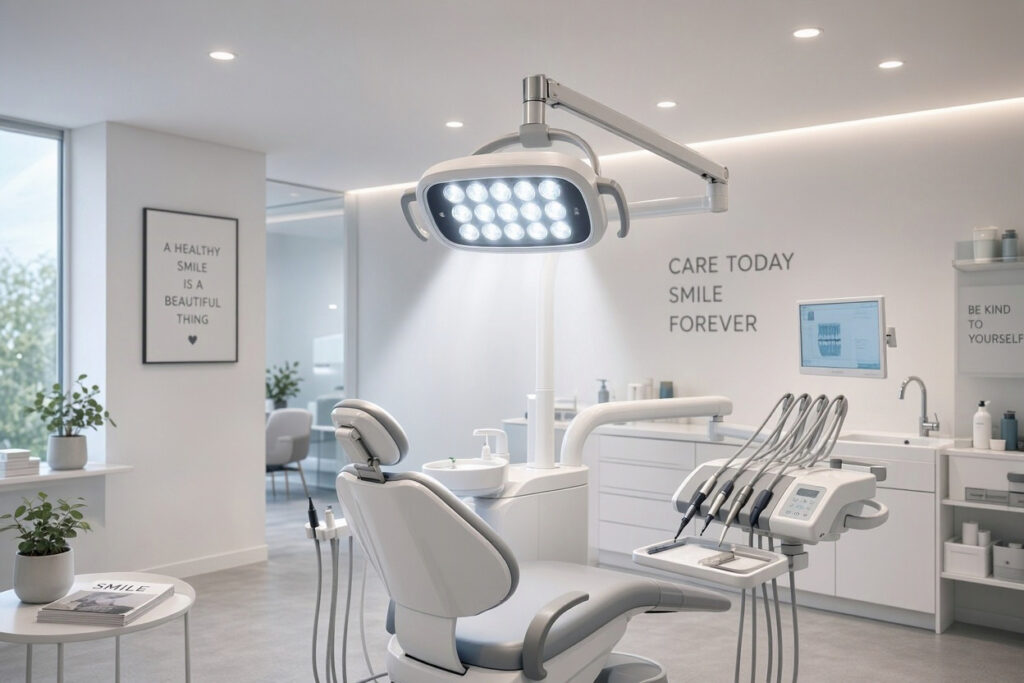
Operatories require the most careful lighting design. You need bright, focused light for clinical work and soft, calming light for patient comfort.
- Task Lighting: Install adjustable dental operatory lights above the patient chair. These provide intense, focused light for procedures.
- Ambient Lighting: Use dimmable recessed lights or indirect cove lighting. Keep the ambient light soft and even.
- Color Temperature: Use neutral white (3500K-4000K) for accurate color rendering.
- High CRI: Ensure all lights have a CRI of 90 or higher. This is critical for shade matching and tissue examination.
- Glare Control: Use diffusers and position lights to avoid shining directly into the patient’s eyes.
Hallways and Corridors
Hallways are transitional spaces. They need to be safe, well-lit, and calming.
- Ambient Lighting: Use recessed ceiling lights or wall sconces spaced evenly. Warm white (3000K) is ideal.
- Night Lighting: Install motion-sensor lights for after-hours use. They save energy and provide safe navigation.
- Avoid: Dark corners and uneven lighting that can cause trips and falls.
Front Office and Business Area
The front office is where your team handles administrative work. Lighting here should be bright, comfortable, and energy-efficient.
- Task Lighting: Use desk lamps with adjustable arms for computer work.
- Ambient Lighting: Recessed ceiling lights with neutral white bulbs (3500K-4000K).
- Glare Control: Position monitors to avoid glare from windows and overhead lights. Use anti-glare screens if needed.
Restrooms
Restrooms should be clean, bright, and welcoming.
- Ambient Lighting: Use warm white (3000K) ceiling fixtures.
- Mirror Lighting: Install vertical sconces on either side of the mirror for even, flattering light.
- Avoid: Harsh downlights that cast shadows on faces.
| Area | Color Temperature | CRI | Key Fixtures |
|---|---|---|---|
| Reception | 2700K – 3000K | 80+ | Pendant lights, sconces |
| Operatories | 3500K – 4000K | 90+ | Dental operatory lights, recessed dimmable |
| Hallways | 3000K | 80+ | Recessed lights, wall sconces |
| Front Office | 3500K – 4000K | 80+ | Desk lamps, recessed lights |
| Restrooms | 3000K | 80+ | Ceiling fixtures, mirror sconces |
Important Note: Always test lighting samples in your actual space before committing to a full installation. Colors and brightness can look different in a showroom versus your office.
LED vs. Traditional Lighting: A Comparison
LED lighting has revolutionized dental office design. Here is how it compares to traditional options.
| Feature | LED Lighting | Fluorescent Lighting | Incandescent Lighting |
|---|---|---|---|
| Energy Efficiency | Very high (up to 80% savings) | Moderate | Low |
| Lifespan | 25,000 – 50,000 hours | 10,000 – 15,000 hours | 1,000 – 2,000 hours |
| Color Quality | Excellent (high CRI available) | Fair to good | Excellent |
| Heat Output | Very low | Moderate | High |
| Dimming | Excellent | Limited | Excellent |
| Cost | Higher upfront | Lower upfront | Lowest upfront |
| Environmental Impact | Low (no mercury) | Contains mercury | Low |
Note for Readers: LED lighting is the clear winner for dental offices. The higher upfront cost is offset by lower energy bills and longer lifespan. LEDs also offer better color quality and dimming capabilities.
Energy Efficiency and Cost Savings
Lighting accounts for a significant portion of your practice’s energy bill. Smart lighting choices can reduce costs substantially.
Tips for Energy-Efficient Lighting
- Switch to LED: Replace all traditional bulbs with LEDs. This is the single biggest energy saver.
- Install Motion Sensors: Use motion-sensor lights in hallways, restrooms, and storage areas. They turn off automatically when no one is present.
- Use Dimmers: Dimming lights reduces energy consumption and extends bulb life.
- Maximize Natural Light: Position workstations near windows. Use light-colored walls and furniture to reflect natural light.
- Schedule Maintenance: Clean fixtures and replace burnt-out bulbs promptly. Dirty fixtures and old bulbs waste energy.
- Consider Solar Tubes: In spaces without windows, solar tubes can bring natural light into hallways and interior rooms.
Pro Tip: Conduct an energy audit of your practice. Many utility companies offer free or low-cost audits. They can identify areas where you can save energy and money.
Common Lighting Mistakes to Avoid
Even well-intentioned designs can go wrong. Here are the most common lighting mistakes in dental offices.
- Using Fluorescent Lights: They flicker, hum, and contain mercury. They also make spaces feel institutional.
- Ignoring Color Temperature: Mixing warm and cool lights in the same space creates an inconsistent, jarring look.
- Low CRI Bulbs: Poor color rendering leads to inaccurate shade matching and misdiagnosis.
- Glare and Shadows: Unshielded bulbs and poor placement cause eye strain and discomfort.
- No Dimming: Without dimmers, you cannot adjust lighting for different procedures or times of day.
- Neglecting Maintenance: Dusty fixtures and burnt-out bulbs make your office look neglected.
- Overlighting: Too much light causes glare and eye strain. More is not always better.
“The most common mistake I see is over-illumination. Practice owners think brighter is better. But harsh, excessive light creates glare and fatigue. The goal is balanced, layered lighting that supports the task at hand.” — Thomas Grant, Lighting Designer
Maintaining Your Dental Office Lighting
Regular maintenance keeps your lighting system working efficiently and looking good.
- Monthly: Dust light fixtures and wipe down lenses. Check for burnt-out bulbs and replace them promptly.
- Quarterly: Inspect wiring and connections for wear. Check dimmer switches for proper function.
- Annually: Schedule a professional inspection of your entire lighting system. Clean overhead fixtures and test emergency lighting.
- As Needed: Replace bulbs with matching color temperature and CRI. Keep spare bulbs on hand.
Important Note: Always turn off power before cleaning or replacing light fixtures. Follow all safety guidelines and local regulations.
Frequently Asked Questions
What is the best color temperature for dental operatories?
3500K to 4000K is ideal. This neutral white light provides accurate color rendering for clinical work while remaining comfortable for patients. Avoid cool white (5000K+) for general ambient lighting.
Why is CRI important for dental lighting?
CRI measures how accurately a light source renders colors. A high CRI (90+) ensures that tooth shades, tissue colors, and materials appear natural. This is critical for shade matching and diagnosis.
Can I use regular household LED bulbs in my dental office?
Not recommended. Household bulbs often have low CRI and inconsistent color temperatures. Invest in commercial-grade LED bulbs with high CRI and consistent performance.
How much can I save by switching to LED lighting?
Most practices save 50% to 80% on lighting energy costs after switching to LED. The exact savings depend on your current fixtures and usage. LEDs also last much longer, reducing replacement costs.
What is the best lighting for anxious patients?
Soft, warm, dimmable lighting is best. Avoid harsh overhead lights and fluorescent fixtures. Use indirect lighting and allow patients to adjust light levels in treatment rooms if possible.
Do I need a lighting designer for my dental office?
For a small practice, an experienced electrician may be sufficient. For larger practices or new builds, a lighting designer is highly recommended. They can optimize energy efficiency, ensure compliance with codes, and create a cohesive design.
Conclusion
Dental office lighting is a critical investment in patient comfort, staff efficiency, and energy savings. By layering ambient, task, and accent lighting, choosing the right color temperatures, and prioritizing high CRI, you can create a space that is both beautiful and functional.
Additional Resource
For more information on energy-efficient lighting and rebate programs, visit the U.S. Department of Energy’s lighting resources. https://www.energy.gov/eere/ssl/led-lighting