How Are Dental Implants Polished?
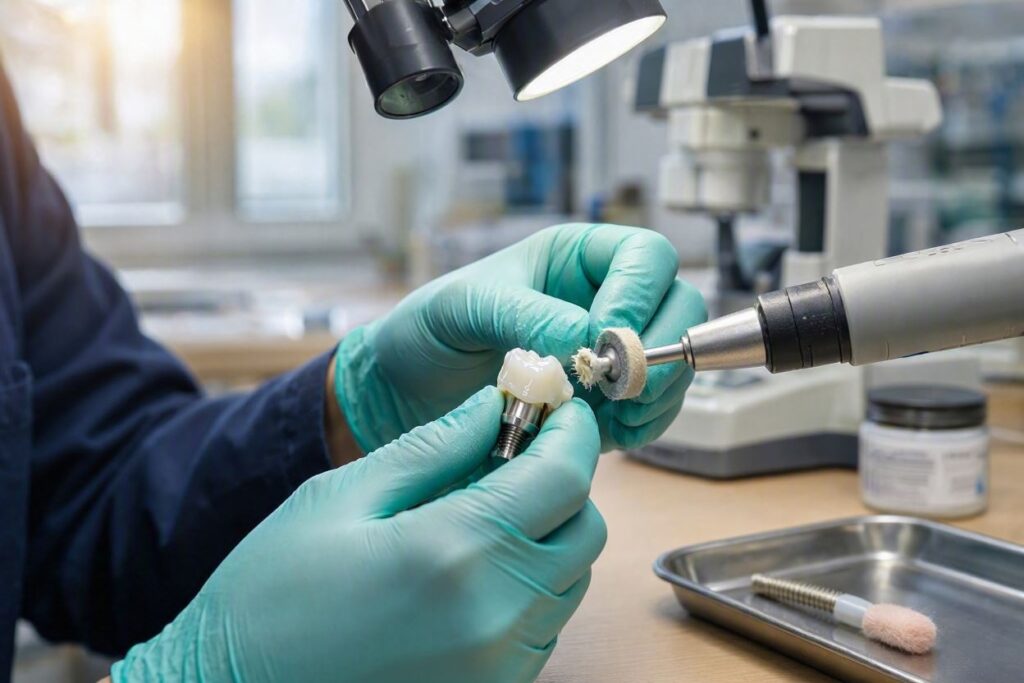
Keeping a dental implant clean is crucial for its longevity. While you brush and floss at home, sometimes the implant needs a professional touch. “Polishing” a dental implant is different from polishing a natural tooth. Because the implant is metal and ceramic, special tools and techniques are required.
This article explains how dental professionals polish implants, why it is necessary, and what you should never do at home.
Why Polish an Implant?
You might think: “If the crown is ceramic, it shouldn’t stain.” And you are right—it doesn’t stain easily. However, it can accumulate calculus (tartar).
The Biofilm Problem
Just like natural teeth, implants collect plaque. Plaque is a sticky film of bacteria. If it is not removed, it hardens into calculus. This calculus is rough. It attracts more bacteria. This leads to gum inflammation around the implant (peri-implant mucositis), which can progress to bone loss (peri-implantitis).
Polishing removes this biofilm and smooths the surface so bacteria cannot grip as easily.
The Tools of the Trade
Dentists and hygienists do not use the same tools they use on natural teeth. Natural teeth have enamel, which is very hard. Implant crowns are often made of porcelain, which is softer than enamel and can be scratched. The titanium post is also sensitive to scratching.
1. Plastic or Teflon Scalers
A standard metal scaler (the hook-like tool used to scrape tartar off teeth) is too hard. It will leave deep scratches in the titanium abutment and the porcelain.
- The Alternative: Dental professionals use scalers made of plastic, resin, or Teflon. These are hard enough to scrape off tartar but soft enough not to scratch the implant.
2. Titanium-Tipped Ultrasonic Scalers
Ultrasonic scalers use high-frequency vibration to blast tartar off. For implants, the tip must be made of titanium or a plastic sleeve must be placed over the metal tip. If a standard steel tip touches the implant, it can damage it.
3. Air Polishing (Prophy Jet)
This is becoming the gold standard for implant maintenance.
- How it works: A machine sprays a high-pressure stream of water mixed with a fine powder.
- The Powder: For implants, the powder is usually Glycine or Erythritol. These are amino acid-based powders that are very fine and gentle. They are abrasive enough to remove biofilm but safe for the implant surface.
- Why it is great: It cleans areas that brushes and scalers cannot reach.
4. Rubber Cups and Fine Prophy Paste
For the crown itself, the hygienist might use a rubber cup (a small spinning rubber brush) with a fine polishing paste.
- The Caution: Standard “gritty” toothpaste or coarse pumice should not be used. It will remove the glaze on the porcelain, making the crown look dull and attracting more bacteria.
The Step-by-Step Professional Cleaning
Here is what happens when you go in for an implant maintenance visit.
- Assessment: The dentist checks the implant for mobility. They probe around the gum to measure the pocket depth (healthy is usually under 4mm).
- Scaling: The hygienist uses plastic or titanium scalers to gently remove large chunks of tartar.
- Air Polishing: They use the glycine air polisher to clean the threads of the implant and the undercut areas.
- Polishing the Crown: They polish the white part with a soft cup and fine paste to make it shiny.
- Flossing: They use special floss (usually a thick, fuzzy floss or a water pik) to clean around the abutment.
What Happens if the Implant Gets Scratched?
Scratches are the enemy of an implant.
- Bacteria Hotel: A scratched surface has microscopic grooves. Bacteria love to hide in these grooves. It becomes much harder to keep the implant clean.
- Titanium Corrosion: Deep scratches in the titanium can expose the raw metal to the oral fluids, leading to corrosion.
Can You Polish Your Implant at Home?
You cannot “polish” it in the professional sense, but you can maintain it.
Do:
- Use a soft-bristled toothbrush.
- Use non-abrasive toothpaste (avoid “whitening” or “smokers” toothpaste with high abrasives).
- Floss daily.
- Use a water flosser (Waterpik).
Don’t:
- Use baking soda (too abrasive).
- Use metal picks or scrapers from the drugstore.
- Use a standard electric toothbrush with a hard brush head (medium/soft is better).
Table: Implant Cleaning Materials
| Tool | Material | Safe? | Notes |
|---|---|---|---|
| Hand Scaler | Steel | No | Scratches titanium |
| Hand Scaler | Plastic/Teflon | Yes | Wears out quickly |
| Ultrasonic | Steel Tip | No | Damages surface |
| Ultrasonic | Plastic Sleeve | Yes | Must cover metal |
| Air Polish | Glycine Powder | Yes | Best for biofilm |
| Rubber Cup | Fine Paste | Yes | Do not use coarse grit |
Conclusion
Polishing a dental implant is a delicate process that requires specialized plastic instruments and gentle air polishing systems. The goal is to remove biofilm without scratching the metal or porcelain. Regular professional maintenance is essential to prevent peri-implantitis and ensure the implant lasts a lifetime.
Additional Resource
For more on implant maintenance, visit the American Dental Hygienists’ Association at www.adha.org.