Implant Dental Laboratory: Your Behind-the-Scenes Guide to Better Restorations
Let’s be honest for a second. When you place a dental implant, you put your trust in a lot of moving parts. Your hands. The implant system. And yes—the lab that crafts the final restoration.
That last part often feels like a mystery. You send a scan or an impression. A few days later, a crown or bridge arrives in a neat little box. But what happens in between?
Understanding your implant dental laboratory changes everything. It helps you avoid remakes. It saves you chair time. And it gives you confidence that your final restoration will look natural, fit perfectly, and last for years.
This guide pulls back the curtain. We will walk through the entire lab process. We will look at materials, digital workflows, quality control, and common mistakes. We will also talk about how to choose a lab that feels like a partner, not just a vendor.
No fluff. No fake promises. Just real, practical information you can use starting tomorrow.
What Exactly Is an Implant Dental Laboratory?
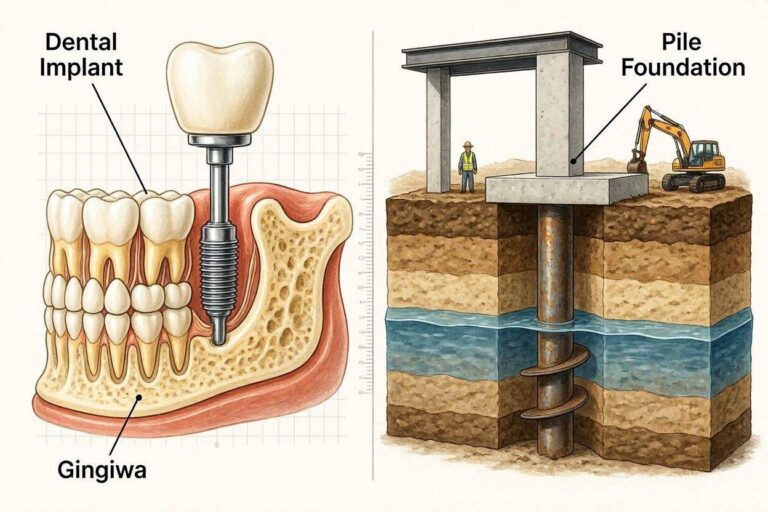
An implant dental laboratory is a specialized facility that designs and fabricates the prosthetic components placed on top of dental implants. Think of it as a custom workshop for teeth that do not exist yet.
But here is the important distinction. Not all dental labs are implant labs.
A general lab might make dentures or simple crowns on natural teeth. An implant-focused lab works with abutments, screw-retained crowns, bars, hybrid prostheses, and full-arch fixed restorations. They understand torque, emergence profiles, and passive fit. These are not optional details. They are essentials.
What Makes an Implant Lab Different?
| Feature | General Dental Lab | Implant Dental Laboratory |
|---|---|---|
| Main focus | Natural tooth restorations | Implant-supported prosthetics |
| Key components | Crowns, bridges, dentures | Abutments, screw-retained crowns, multi-unit bridges |
| Fit requirement | Good marginal fit | Passive fit (critical for screw loosening) |
| Digital expertise | Optional | Almost mandatory |
| Torque knowledge | Basic | Advanced (knows 15 Ncm vs 35 Ncm) |
“A beautiful crown on a natural tooth can tolerate small errors. An implant restoration cannot. The lab must think in microns, not millimeters.” — Lab technician with 20+ years of experience.
So when you hear “implant dental laboratory,” think precision. Think engineering. And think teamwork.
The Step-by-Step Workflow Inside an Implant Lab
You place an implant. You wait for osseointegration. Then you send your case to the lab. What happens next?
Let’s walk through a typical workflow. This applies to a single implant crown, but the same logic scales up to full arches.
Step 1: Receiving the Impression or Digital Scan
The lab receives either a traditional impression (with an implant analog and transfer coping) or a digital file from an intraoral scanner.
Traditional impression route:
The lab pours a stone model. They place a lab analog into the impression. This creates a replica of your patient’s mouth. Then they pin and section the model if needed.
Digital route:
The lab imports an STL file into design software. No stone. No bubbles. No shipping delays.
Most modern implant labs prefer digital. It removes distortion risks. But a good lab handles both methods well.
Step 2: Model Fabrication (for Analog Cases)
If the case comes as a physical impression, the lab creates a working model. This step sounds simple, but it is where many errors start.
- Poor analog seating creates inaccurate models.
- Air bubbles in the stone change the fit.
- Improper die trimming destroys emergence profile details.
A quality implant dental laboratory checks every model against the original impression before proceeding.
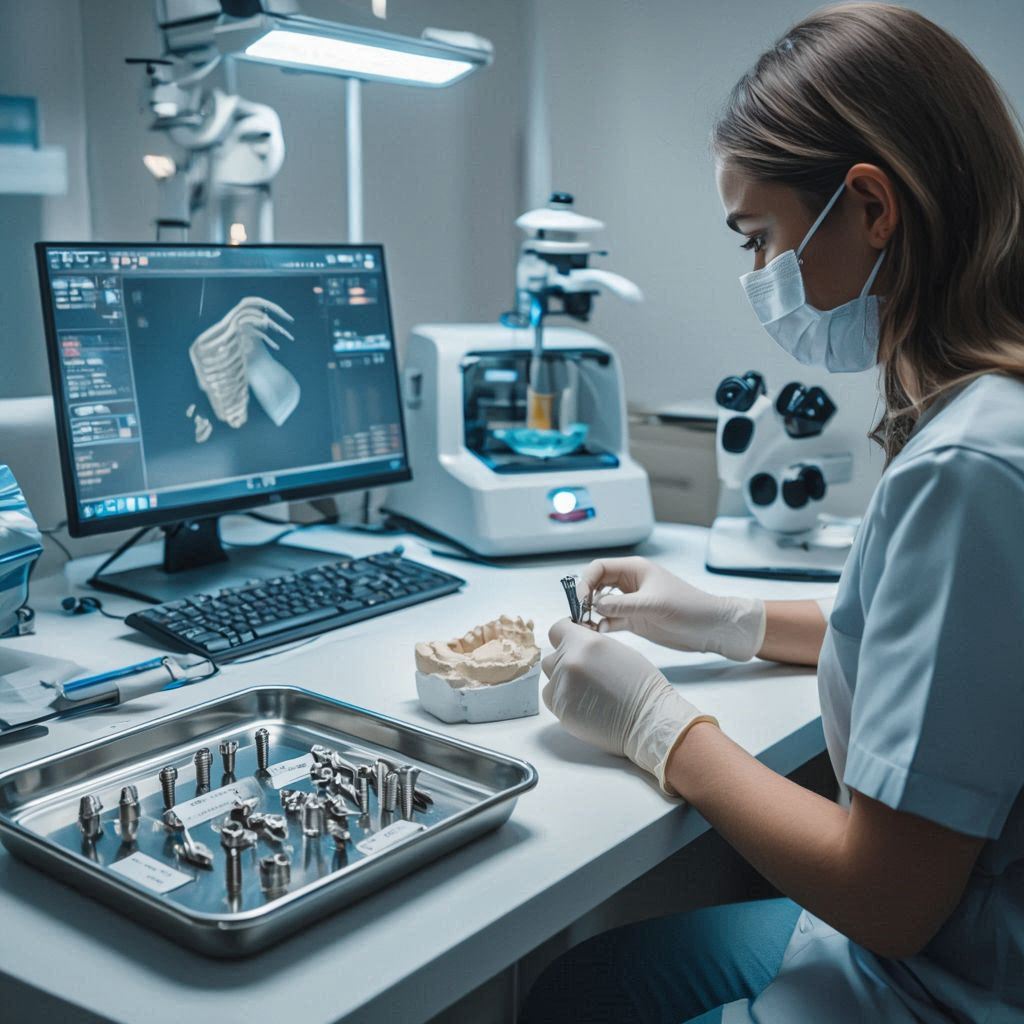
Step 3: Designing the Restoration
Here is where the magic happens. Using CAD (computer-aided design) software, the technician designs the abutment and crown.
They consider:
- Screw access angle – Can you actually place the screw?
- Emergence profile – Does the restoration mimic a natural tooth emerging from tissue?
- Occlusal clearance – Is there enough room for material strength?
- Interproximal contacts – Not too tight. Not too open.
For custom abutments, the lab designs the interface that connects to your specific implant system. They use the correct platform diameter and hex/orientation.
Step 4: Milling or 3D Printing
Once the design is approved, the lab manufactures the parts.
Milling – A machine carves the restoration from a solid block of zirconia, titanium, or PMMA. Milling offers excellent strength and accuracy.
3D printing – Great for surgical guides, temporary restorations, and models. Permanent printing materials are improving fast, but milling remains the gold standard for final restorations in most implant labs.
Step 5: Sintering, Coloring, and Glazing (For Ceramics)
Zirconia restorations come out of the mill in a chalky white state. They need sintering – a high-heat process that makes them hard and dense.
Then the technician applies stains and glaze. This step gives the restoration life. Translucency. Depth. Natural color shifts. A great implant lab does not just match a shade tab. They match the neighboring teeth.
Step 6: Quality Control
Before shipping, the lab checks:
- Fit on the model – Does it seat completely?
- Marginal integrity – Is the gap under 50 microns?
- Screw path – Does the screwdriver engage smoothly?
- Passive fit – For multi-unit cases, are there any tensions?
Some labs use microscope verification. Others use radiographs of the restoration on the model. You want a lab that checks everything twice.
Digital vs. Traditional: Which Workflow Is Better?
This question comes up often. The short answer? Digital is faster and more accurate. But traditional still works when done correctly.
Let’s compare them side by side.
| Aspect | Digital Workflow | Traditional Workflow |
|---|---|---|
| Accuracy | Very high (no distortion) | Good, but impression material shrinks |
| Turnaround time | 3–5 days typical | 5–10 days typical |
| Shipping costs | None for files | Yes, both ways |
| Rework rate | Low (5–10%) | Moderate (10–20%) |
| Learning curve | Needs scanner training | Needs impression technique |
| Best for | Most cases, especially full-arch | Simple single units if digital not available |
Important note for readers: Digital does not automatically mean perfect. A bad scan ruins the case faster than a good impression. Your technique matters more than the tool.
Most established implant dental laboratories now offer both options. Some are fully digital. Ask your lab what they prefer. Then follow their protocol exactly.
Common Implant Restorations Made in a Lab
You might think a lab only makes crowns. Not even close.
Here are the most common implant-supported prosthetics that come out of a specialized implant lab.
Single-Unit Implant Crowns
The most frequent case. A single crown screwed or cemented onto an implant. The lab can fabricate a stock abutment (pre-made) or a custom abutment (designed for that specific case).
Screw-retained vs. cement-retained:
- Screw-retained: No cement. Retrievable. More expensive components.
- Cement-retained: Easier to make passive. But excess cement can cause peri-implantitis.
Many implant labs now push for screw-retained designs. They are safer for long-term maintenance.
Implant-Supported Bridges
Two implants supporting three or more units. The challenge? Passive fit. If the lab does not get it right, one implant takes all the load. That leads to screw loosening or implant fracture.
A good implant dental laboratory will verify passive fit using a radiographic or sectioning technique before final delivery.
Full-Arch Fixed Prostheses
Also called hybrid dentures or fixed-detachable prostheses. Four to six implants support a full arch of teeth. The lab creates a titanium or milled zirconia bar, then attaches acrylic or composite teeth.
These cases are complex. They require:
- Accurate bite registration
- Verified passive fit
- Proper cantilever length (usually one tooth maximum)
- Cleanable design
Never trust a lab that says “full-arch is easy.” It is not. Good full-arch work takes time and experience.
Implant-Retained Overdentures
Unlike fixed prostheses, overdentures snap on and off. The lab places housings with o-rings or locator attachments into the denture base. The patient removes them for cleaning.
These are simpler than fixed full-arch cases. But the lab still needs to align the attachments perfectly. Off-axis inserts cause rapid wear and patient frustration.
Materials Used in an Implant Dental Laboratory
Material choice impacts strength, esthetics, and cost. There is no single “best” material. It depends on the case.
Here is a practical breakdown.
| Material | Strength | Esthetics | Cost | Best for |
|---|---|---|---|---|
| Zirconia (monolithic) | Excellent | Good | Medium | Posterior crowns, full-arch |
| Zirconia (layered) | Very good | Excellent | High | Anterior crowns, bridges |
| Titanium | Excellent | Poor | Low | Frameworks, abutments |
| PMMA/Temporary | Poor | Fair | Low | Provisionals, try-ins |
| Lithium disilicate (e.g., e.max) | Good | Excellent | Medium-High | Single crowns, anterior |
| Gold alloy | Excellent | Poor (esthetic) | High | Custom abutments (tissue level) |
A quick word on zirconia
Zirconia dominates modern implant restorations. It is biocompatible. It does not corrode. It wears like enamel. And it can be milled in beautiful multilayered shades.
But older zirconia had chipping problems with layered porcelain. Newer monolithic (solid) zirconia solves that. It may sacrifice a little translucency, but it survives.
Your implant dental laboratory should explain their zirconia brand and why they use it. Ask about fracture rates. A transparent lab shares that data.
How to Choose the Right Implant Dental Laboratory
You have options. Dozens of labs will take your work. But not all will treat you like a partner.
Here is a checklist to help you choose.
1. Ask about their implant experience.
“How many implant units do you fabricate per month?”
A lab doing 20 units monthly is very different from one doing 200. Volume is not everything, but experience matters.
2. Request case photos.
Before and after photos of restorations. Intraoral photos preferred. If they only show models, ask why.
3. Check their implant system library.
Do they work with your brand? Straumann? Nobel Biocare? Zimmer? Hiossen? Implant components are not interchangeable. Your lab needs the correct analogs, copings, and interfaces.
4. Ask about remake rates.
A confident lab will tell you. “Our remake rate is under 5%.” If they hesitate or say “never,” be careful. Everyone has remakes. Honest labs track them.
5. Test with a simple case first.
Do not start with a full-arch. Send a single-unit posterior crown. See how they communicate. Check the fit. Measure the turnaround time.
6. Evaluate their communication.
Do they answer emails within 24 hours? Do they call you when something looks wrong? Or do they fabricate it anyway and hope for the best?
A great implant dental laboratory communicates before problems become failures.
“The best lab I ever worked with called me three times on one case. Once to confirm the shade. Once to ask about the screw channel. Once to tell me they were shipping early. That is partnership.” — Restorative dentist, private practice.
Red Flags to Watch For
Not every lab deserves your business. Watch for these warning signs.
- They never ask questions. A lab that accepts every case without clarification is guessing.
- They promise impossibly fast turnaround. Two days for a full-arch zirconia? That usually means rushed sintering and skipped QC.
- They refuse digital files. In 2026, a lab without digital capability is falling behind.
- They cannot name their materials supplier. Where does their zirconia come from? Who mills it? Vague answers mean low transparency.
- They have no remake policy. Every lab has misfits. Good labs have a clear, fair remake process.
How to Work Better With Your Implant Lab
You want fewer remakes. Your lab wants fewer remakes. You are on the same team.
Here is how to make that team work.
Send clear prescriptions.
Never assume the lab knows what you want. Write it down.
- Implant system and platform
- Desired material
- Screw-retained or cement-retained
- Shade (with photo if possible)
- Occlusal scheme
- Delivery date needed
Provide high-quality scans or impressions.
Digital users: Dry the field. Scan slowly. Check the scan body seating. A bad scan body position ruins everything.
Traditional users: Use rigid impression material. Avoid tearing. Double-check tray adhesive. And always send a bite registration.
Label everything.
Implant analog in the wrong spot? Wrong implant platform? These mistakes happen when cases are not labeled clearly. Use a permanent marker. Write the implant type and size on the model base.
Communicate changes immediately.
The patient changed their mind about the shade? You decided to switch to screw-retained? Tell the lab before they start milling. A five-second message can save hours of rework.
The Cost of Implant Laboratory Services
Pricing varies widely. Location matters. Digital vs. traditional matters. Complexity matters.
But here are realistic ranges in the U.S. market (2026 estimates).
| Service | Typical Price Range |
|---|---|
| Single-unit custom abutment + crown (zirconia) | $250 – $450 |
| Single-unit screw-retained crown (stock abutment) | $180 – $300 |
| 3-unit implant bridge (zirconia) | $600 – $1,000 |
| Full-arch fixed hybrid (acrylic on titanium) | $2,500 – $5,000 |
| Full-arch milled zirconia | $4,000 – $8,000 |
| Implant-retained overdenture (2 implants) | $800 – $1,500 |
Important note for readers: The cheapest lab is rarely the best. Low prices usually mean lower-grade materials, rushed workflows, or inexperienced technicians. Pay for quality. Your patients will thank you.
Some implant dental laboratories charge a separate design fee for custom abutments. Others bundle it. Always ask for a detailed price breakdown before starting a case.
Quality Control: What a Great Lab Does Differently
You cannot see inside the lab. But you can ask about their quality control process.
A great implant lab will tell you:
- They verify all implant analogs under magnification before model work.
- They scan every model (even traditional impressions) for digital verification.
- They torque test screw-retained restorations on the model before shipping.
- They take radiographs of the restoration seated on the model for complex cases.
- They keep a remake log and review it monthly for process improvement.
One lab owner told me, “We treat every case like it is going into our own mother’s mouth.” That attitude shows in the details.
The Future of Implant Dental Laboratories
What changes are coming? You will see three major shifts.
1. Same-day milling will grow.
More clinics are buying in-house mills. But in-house does not replace a full-service lab. Complex cases, full-arch, and high-esthetic work still need specialized technicians. The implant dental laboratory of the future will handle what chairside mills cannot.
2. AI-assisted design.
Software can now suggest emergence profiles and contact points. It speeds up design. But humans still make final decisions. AI helps. It does not replace.
3. Printed permanent restorations.
Resin-based permanent materials are improving. Within three to five years, 3D-printed implant crowns may match milled zirconia. That will lower costs and speed up production.
Do not believe anyone who says the lab is dying. The opposite is true. As implants become more common, demand for skilled implant labs grows.
Common Mistakes Clinicians Make (And How to Avoid Them)
You are not a lab technician. That is fine. But certain clinical mistakes make the lab’s job much harder.
Mistake 1: Not verifying the scan body position
A scan body that does not seat fully will ruin the digital impression. The lab receives a file with a tilted implant position. The restoration looks wrong. The case gets remade.
Fix: Always take a periapical X-ray of the seated scan body before scanning.
Mistake 2: Sending a poor bite registration
If the lab does not know your patient’s bite, they guess. Guessing leads to occlusal adjustments in your chair.
Fix: Use a rigid bite registration material. Verify it captures the correct vertical dimension.
Mistake 3: Changing the plan mid-case
You ask for a cement-retained crown. The lab designs it. Then you call and say, “Actually, make it screw-retained.” That means starting over.
Fix: Finalize your treatment plan before sending the case. If you must change, expect a new timeline and possible extra fee.
Mistake 4: Not communicating the tissue condition
Is the tissue thin? Thick? Inflamed? The lab designs emergence profiles based on average tissue. Abnormal tissue needs special instructions.
Fix: Add a photo of the soft tissue to every implant case.
A Sample Implant Lab Prescription (Use This Template)
Print this out. Fill it in. Send it with every case.
IMPLANT LAB PRESCRIPTION
Doctor name: ________________
Patient initials: ______
Due date: ________________
Implant system: ________________
Platform diameter: ________
Implant depth from tissue: ________
Restoration type:
☐ Single crown
☐ Bridge (____ units)
☐ Full-arch hybrid
☐ Overdenture
☐ Other: __________
Retention:
☐ Screw-retained
☐ Cement-retained
Material:
☐ Zirconia (monolithic)
☐ Zirconia (layered)
☐ Lithium disilicate
☐ PMMA temporary
☐ Titanium
Shade: ________
Photo attached? ☐ Yes ☐ No
Special instructions:
Doctor signature: ________________
Send this with every case. It takes 60 seconds. It saves hours of confusion.
Frequently Asked Questions (FAQ)
1. How long does an implant dental laboratory take to make a crown?
For a single-unit digital case, 3 to 5 business days is standard. Traditional impressions add 2 to 3 more days for shipping and model work. Rush services are often available for a fee.
2. Can any lab make implant restorations?
Technically yes. But you want a lab with specific implant experience. Implant restorations require different knowledge than natural-tooth crowns. Ask about their implant case volume.
3. Do I need a custom abutment?
Not always. Stock abutments work fine for straightforward cases with ideal implant positioning. Custom abutments help when the implant is angled, the tissue is irregular, or you need a specific emergence profile.
4. Why did my restoration not fit?
Common reasons: inaccurate impression/scan, incorrect analog placement in the lab, or implant platform mismatch. A good lab will help you identify the cause and fix it without blaming you.
5. What is passive fit and why does it matter?
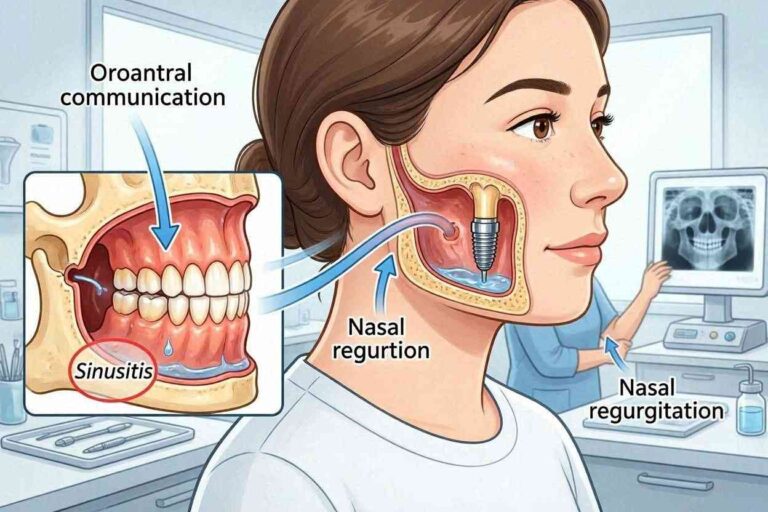
Passive fit means the restoration seats on all implants simultaneously without any tension or force. Without passive fit, screws loosen, implants fracture, and bone is lost. It is the most important technical requirement for multi-implant restorations.
6. Should I use a local or online implant lab?
Both can work. Local labs offer faster shipping and face-to-face communication. Online labs may have lower prices and more specialized equipment. Try both and compare quality.
7. How do I know if my lab uses quality materials?
Ask for material certificates or lot numbers. Reputable labs use brands like Ivoclar, Kuraray, Zirkonzahn, or Straumann. If they cannot tell you the brand, be concerned.
Additional Resource
For a deeper dive into implant prosthetic components, scanning protocols, and troubleshooting misfits, visit the National Association of Dental Laboratories (NADL) implant education page.
👉 Recommended link:
www.nadl.org/implant-education (Navigate to the implant resources section)
This is a non-commercial, trusted source for continuing education and technical standards.
Conclusion
Choosing the right implant dental laboratory means looking beyond price to find true technical expertise and honest communication. A great lab verifies fit, uses modern digital workflows, and treats every case like a partnership, not a transaction. Send clear prescriptions, avoid common clinical mistakes, and your restorations will fit better, last longer, and save you chair time.