Teeth Implants Process: Your Complete Step-by-Step Guide to a New Smile
Losing a tooth can feel frustrating. Maybe you feel self-conscious when you laugh. Perhaps chewing has become a challenge. You are not alone. Millions of adults face this situation every year.
The good news? Modern dentistry offers a fantastic solution: dental implants. They look, feel, and function like natural teeth. But the idea of surgery can sound scary. Many people worry about pain, time, and results.
Let me walk you through the teeth implants process in simple, honest terms. No confusing medical jargon. No unrealistic promises. Just a clear roadmap of what actually happens, how long it takes, and what you should feel along the way.
By the end of this guide, you will know exactly what to expect. You will feel empowered to talk with your dentist. And you will understand why millions choose implants as the gold standard for tooth replacement.
What Exactly Is a Dental Implant?
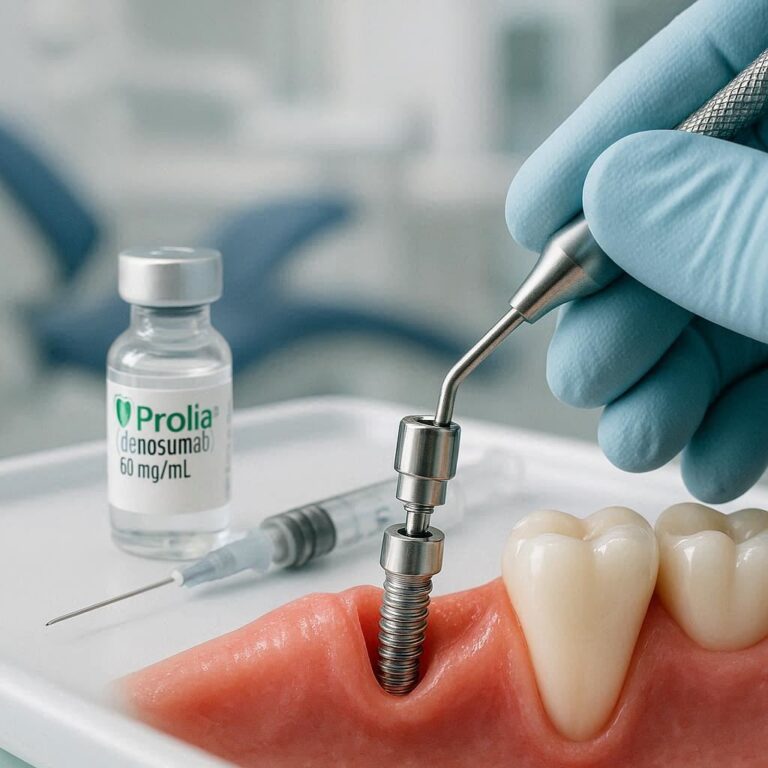
Before we explore the steps, let us understand the device itself. A dental implant has three main parts.
The Implant Post: This is a small screw, usually made of titanium. The surgeon places it directly into your jawbone. It acts like the natural root of your tooth.
The Abutment: This is a connector piece. It sits on top of the implant post. It sticks out just above your gum line.
The Crown: This is the visible part. It looks like a natural tooth. The dentist attaches it to the abutment.
Important Note: Some people think implants are “fake teeth glued to the gums.” That is incorrect. Implants fuse with your bone. This creates unmatched stability.
The magic happens through a process called “osseointegration.” That is just a fancy word for your jawbone growing tightly around the titanium post. This takes time, but it creates a foundation as strong as a natural tooth root.
Is the Teeth Implants Process Right for You? (Honest Criteria)
Not everyone qualifies immediately. A good candidate has:
- Healthy gums (no active gum disease)
- Enough jawbone density to support the post
- Good overall health (certain conditions like uncontrolled diabetes may delay healing)
- Non-smoker or willing to quit temporarily (smoking drastically reduces success rates)
Do not worry if you lack bone density. Bone grafting is common and effective. We will cover that later.
Quick Self-Assessment Table
| Criterion | Ideal Status | What Can Be Done? |
|---|---|---|
| Gum health | No bleeding or swelling | Deep cleaning or periodontal therapy |
| Jawbone density | Thick and tall enough | Bone graft surgery |
| Smoking habit | Zero cigarettes | Quit for 6+ months |
| Chronic illness | Well-controlled | Coordinate with your physician |
Overview of the Entire Teeth Implants Process Timeline
Patience is key here. This is not a one-visit procedure. Rushing leads to failure. A typical timeline looks like this:
- Initial consultation: 1 hour
- Preparatory work (extractions, grafting): 1–2 visits, healing 3–6 months
- Implant placement surgery: 1–2 hours
- Osseointegration (bone healing): 3–6 months
- Abutment placement: 30 minutes, then heal 2 weeks
- Crown placement: 1 hour
Total time: 4 to 9 months on average. Complex cases can take 12+ months.
“I wish someone had told me that the waiting is the hardest part. The surgery itself was easier than a filling.” — Real patient feedback
Step 1: The Initial Consultation (What Your Dentist Checks)
This first visit is information gathering. Your dentist will not place an implant today. Instead, they will:
- Examine your mouth for signs of infection or decay
- Take digital X-rays or a CBCT scan (a 3D image of your jaw)
- Review your medical history (medications, allergies, surgeries)
- Discuss your goals (one tooth? multiple teeth? full arch?)
The CBCT scan is crucial. It shows the exact location of nerves, sinuses, and bone volume. Your dentist uses this to create a surgical guide.
Questions you should ask during this visit:
- How many implants do I actually need?
- What is the total estimated cost (including crown and abutment)?
- Do you offer sedation options?
- What happens if the implant fails?
Do not leave without written treatment plan. A professional clinic will provide this document willingly.
Step 2: Preparatory Procedures (Bone Grafts, Extractions, Sinus Lifts)
Sometimes, your mouth needs preparation. Think of it like preparing the soil before planting a seed.
Bone Grafting
If your jawbone is too thin or soft, the implant cannot hold. A bone graft adds material to strengthen the area. The material can come from:
- Your own body (usually from the chin or hip)
- A donor (human tissue bank)
- Animal bone (bovine or equine, highly processed and safe)
- Synthetic bone material
Healing after a bone graft takes 4 to 6 months. During this time, new bone grows and merges with the graft.
Tooth Extraction
If you still have a damaged tooth in the spot, the dentist removes it first. Sometimes, they can place the implant immediately after extraction (immediate implant). Other times, they let the socket heal for 2–3 months first.
Sinus Lift
For upper back molars, the sinus cavity may sit too low. A sinus lift gently pushes the sinus membrane upward. The surgeon then places bone graft material in the new space. Healing takes 6 months.
Preparation procedures add time, but they save you from failure. Skip them, and your implant will likely loosen within a year.
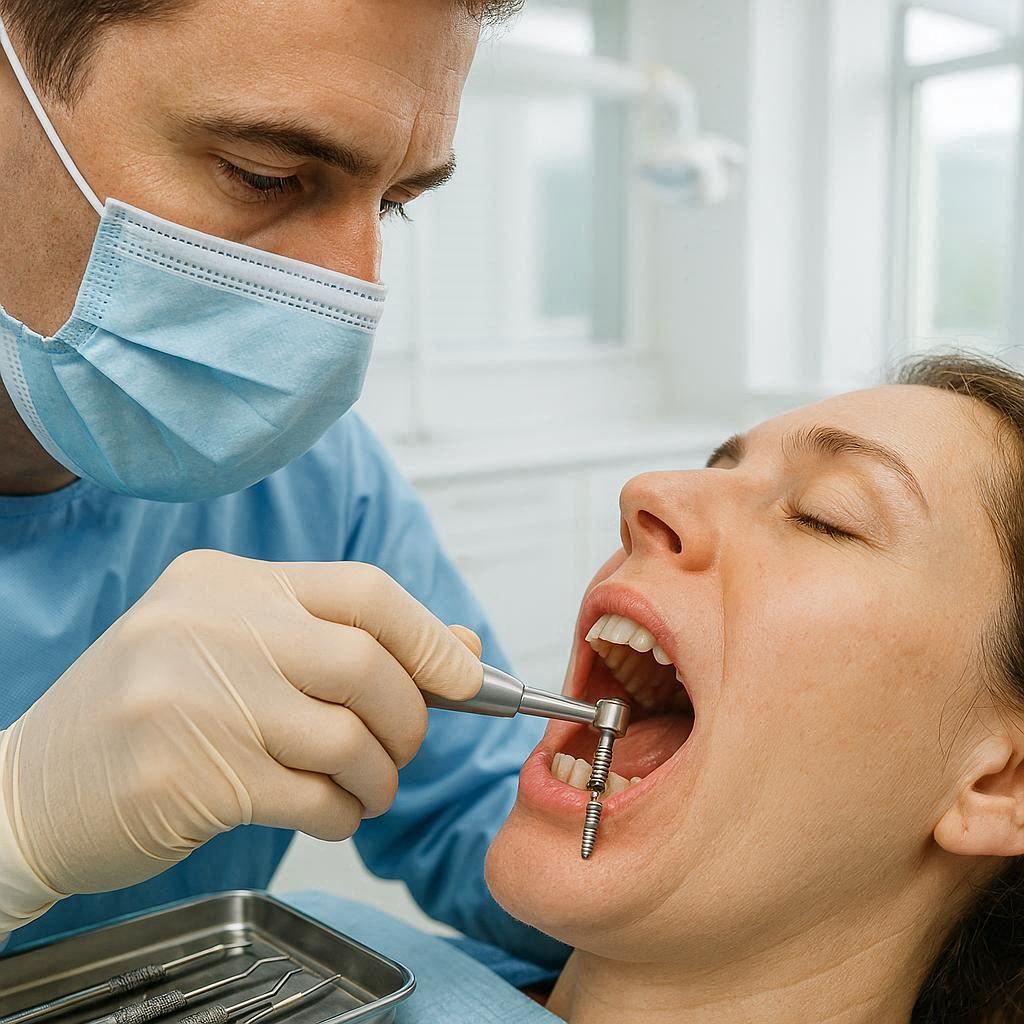
Step 3: The Implant Placement Surgery (What Actually Happens)
Surgery day has arrived. Let me describe exactly what you will experience.
Before the Surgery
- You will receive local anesthesia (like for a filling). The area goes completely numb.
- If you feel anxious, ask about oral sedation (a pill) or IV sedation. You remain awake but very relaxed.
- The surgeon scrubs your mouth with an antibacterial rinse.
During the Surgery
- Incision: The surgeon makes a small cut in your gum to expose the bone underneath.
- Drilling: They use a precise series of drills to create a hole in the jawbone. The hole matches the size of the implant post.
- Placement: The titanium post screws into the hole. The surgeon checks that it is stable.
- Closing: They place a healing cap or a cover screw on top. Then they stitch the gum closed, leaving the top of the implant slightly exposed or covered entirely (depending on the technique).
How Long? What Pain?
The surgery itself lasts 60 to 90 minutes for a single implant. Multiple implants take longer.
Pain during surgery: Zero. You are numb.
Pain after surgery: Mild to moderate. Most people compare it to having a tooth pulled. Over-the-counter ibuprofen usually suffices. Prescription painkillers are rarely needed.
“I kept waiting for the terrible pain to hit. It never did. I ate soft foods for a few days and that was it.” — Patient testimonial
Step 4: Osseointegration – The Waiting Game (3–6 Months)
This is the most critical phase. Your body needs time to let bone cells attach to the titanium surface. You cannot speed this up.
What You Will Feel During This Time
- First week: Some swelling and minor bruising. Ice packs help. Stick to soft foods like yogurt, mashed potatoes, and smoothies.
- Week two to four: Swelling disappears. You barely notice the implant. You can return to normal eating, but avoid chewing directly on the implant site.
- Month two to six: Complete silence. The implant feels like part of your jaw.
Warning Signs to Watch For
- Sharp pain when biting
- The implant feels loose or moves
- Pus or foul taste coming from the site
- Fever
These signs suggest implant failure or infection. Contact your dentist immediately.
Can You Wear a Temporary Tooth?
Yes. Many dentists provide a temporary partial denture or a temporary crown. This covers the gap for cosmetic reasons. However, the temporary should not touch the implant directly. It rests on your gums or adjacent teeth.
Step 5: Abutment Placement (The Connector Piece)
Once osseointegration is complete, you return for a minor procedure. The abutment is the small metal or ceramic piece that connects the implant to the crown.
What Happens:
- The surgeon numbs the area again.
- They make a tiny incision to expose the top of the implant.
- They remove the healing cap.
- They screw the abutment onto the implant.
- They tighten it with a special torque wrench (yes, like cars use).
- They place a temporary crown or a healing abutment above the gum.
Healing After Abutment
Your gums need about 2 weeks to heal around the abutment. During this time, the gum tissue forms a nice collar. This creates a natural-looking emergence for the final crown.
Is this painful? Very mild. Most people take no pain medication. You can eat normally the same day.
Step 6: Final Crown Placement (The Smile Moment)
This is the appointment you have been waiting for. Your new tooth arrives.
The Process:
- Impressions: The dentist takes a digital scan or a putty mold of your mouth. This captures the exact position of the abutment.
- Shade matching: They select a crown color that matches your natural teeth.
- Laboratory fabrication: A dental lab custom-makes your crown. This takes 1–3 weeks.
- Try-in: You try the crown in your mouth. You check the shape, color, and bite.
- Permanent cementation: Once everything looks perfect, the dentist cements or screws the crown onto the abutment.
What the Crown Is Made Of
| Material | Pros | Cons |
|---|---|---|
| Porcelain fused to metal | Strong, affordable | Metal may show at gum line |
| Zirconia | Very strong, white, metal-free | More expensive |
| Lithium disilicate (E-max) | Most natural-looking | Slightly less strong for molars |
Most dentists prefer zirconia for back teeth and E-max for front teeth. Discuss your options.
After the crown is placed, you can eat, smile, and laugh normally. No special care is needed beyond regular brushing and flossing.
Full Arch Implants vs. Single Tooth Implants
The teeth implants process changes slightly if you are missing all teeth on a jaw.
Single Tooth Implant
- One post + one crown
- Does not touch neighboring teeth
- Costs less
- Heals faster
Full Arch Fixed Implants (All-on-4 or All-on-6)
- 4 or 6 posts per jaw
- A fixed bridge attaches to all posts
- You never remove it (non-removable)
- Requires more bone volume
- Costs more upfront but replaces all teeth at once
Overdentures (Snap-on Dentures)
- 2 to 4 posts per jaw
- A removable denture snaps onto the posts
- You take it out for cleaning
- More affordable than fixed full arch
- Less stable than fixed options
Key difference: With a single implant, you wait 4–9 months. With All-on-4, you often get temporary teeth the same day as surgery (Teeth-in-a-Day).
Cost Breakdown of the Teeth Implants Process (Realistic Numbers in USD)
Let us talk money honestly. Implants are an investment. Prices vary by location, dentist experience, and materials.
| Procedure | Average Cost (USA) | Notes |
|---|---|---|
| Consultation and CBCT scan | 150–350 | Often included if you proceed |
| Single implant post placement | 1,500–2,500 | Surgery only |
| Abutment | 300–600 | |
| Crown | 1,000–2,000 | |
| Total single tooth implant | 3,000–3,000–5,000 | Without insurance |
| Bone graft | 300–800 per site | |
| Sinus lift | 1,500–3,000 | |
| Full arch All-on-4 (per jaw) | 15,000–30,000 | Including prosthetics |
Does insurance cover implants? Some plans pay part of the crown or abutment. Few pay for the implant post itself. Check your policy’s “major services” section.
Financing options:
- CareCredit
- Lending Club
- In-house payment plans (ask your dentist)
Recovery and Aftercare: Your New Normal
You made it through the entire teeth implants process. Congratulations! Now, protect your investment.
First 24 Hours After Final Crown
- Stick to soft foods
- Avoid sticky candies or ice
- Do not floss around the new crown for 3 days
Long-term Maintenance (Lifelong)
Implants cannot get cavities, but they can get peri-implantitis (gum disease around the implant). This is the number one cause of late failure.
Your daily routine:
- Brush twice a day (use a soft brush)
- Floss daily (use superfloss or implant-specific floss)
- Use a water flosser on a low setting
- Avoid chewing ice, pens, or hard candies
Professional care:
- Dental cleanings every 6 months
- Annual X-rays to check bone levels
- Night guard if you grind your teeth (grinding can fracture crowns)
Success Rates (Real Data)
- Single tooth implant: 95–98% success at 10 years
- Full arch fixed: 90–95% success at 10 years
- Smokers: 10–20% lower success rates
“My implant is 12 years old. I treat it exactly like a real tooth. It has never given me a single problem.” — Long-term patient
Potential Complications and How to Avoid Them
I will not hide the risks. Being informed protects you.
Early Complications (First 3 months)
- Infection: Redness, pus, bad taste. Treated with antibiotics.
- Implant failure to integrate: The bone rejects the implant. Requires removal and re-attempt after grafting.
- Nerve injury: Numbness in lip or chin (rare with CBCT planning). Usually temporary.
Late Complications (After crown placement)
- Peri-implantitis: Gum recession and bone loss around implant. Treatable with deep cleaning or laser therapy.
- Crown loosening: The cement or screw loosens. Your dentist retightens it easily.
- Porcelain fracture: The crown chips. Needs replacement.
How to Minimize Risks
- Choose an experienced implant dentist (look for “Diplomate of the American Board of Oral Implantology”)
- Follow ALL post-op instructions
- Do not skip follow-up appointments
- Quit smoking permanently
- Control diabetes and other systemic diseases
Teeth Implants vs. Other Tooth Replacement Options
Still unsure if implants are worth it? Compare them side by side.
| Feature | Dental Implant | Fixed Bridge | Removable Denture |
|---|---|---|---|
| Looks like natural tooth | Yes | Good | Poor |
| Preserves jawbone | Yes | No | No |
| Affects adjacent teeth | No | Yes (shaves down healthy teeth) | No |
| Removable | No | No | Yes |
| Average lifespan | 20+ years | 7–15 years | 5–10 years |
| Chewing power | 90% of natural | 70% of natural | 30% of natural |
| Cost (long-term) | Lowest | Moderate | High (replacements) |
The honest truth: Implants cost more upfront. But over 20 years, they are cheaper because you never replace them. Bridges and dentures need repairs and replacements every 5–10 years.
Frequently Asked Questions (FAQ)
1. Is the teeth implants process painful?
No. Local anesthesia eliminates pain during surgery. Afterward, most discomfort is mild and managed with ibuprofen.
2. How long does the entire teeth implants process take?
Typically 4 to 9 months from start to final crown. Bone grafting adds 3–6 extra months.
3. Can I get a dental implant years after losing a tooth?
Yes. You may need a bone graft first if the bone has shrunk.
4. Are dental implants safe for seniors?
Absolutely. Age is not a barrier. Health is. Many patients in their 80s and 90s get implants successfully.
5. What happens if an implant fails?
The dentist removes it. After the bone heals (3–6 months), you can try again, often with a bone graft.
6. Can I have an MRI with dental implants?
Yes. Titanium is non-magnetic and safe for MRI and CT scans.
7. Do implants cause bad breath?
No. In fact, they are easier to keep clean than bridges. Bad breath comes from poor hygiene, not the implant itself.
8. Will my insurance cover any part of the teeth implants process?
Most plans cover the crown portion (40–50%). Some cover the abutment. Few cover the implant post. Always pre-authorize.
Additional Resource
For a visual walkthrough and to find an accredited implant dentist near you, visit the American Academy of Implant Dentistry’s patient education page:
https://www.aaid.com/patients/
This nonprofit resource offers free guides, video animations of the surgery, and a search tool for local specialists.
Conclusion (Three-Line Summary)
The teeth implants process involves six clear steps: consultation, preparation (grafts if needed), implant surgery, osseointegration healing, abutment placement, and final crown attachment. While the journey takes 4–9 months, the result is a permanent, natural-looking tooth that preserves your jawbone and restores full chewing power. With proper daily hygiene and regular dental visits, a successful implant can last a lifetime.
Disclaimer: This article provides general educational information and does not constitute medical advice. Always consult a licensed dental professional for diagnosis and treatment specific to your condition. Individual results and recovery times vary.