How Are Dental Implants Performed?
You have decided to move forward. The financial planning is done, the surgeon is selected, and the date is on your calendar. Now, as the day approaches, a natural and healthy curiosity takes hold. You want to know, step by step, what will happen. How is a dental implant actually performed? What does the surgery feel like? What happens between the surgery and the final tooth? This article is a detailed, transparent walkthrough of the entire dental implant journey, from the initial diagnostic scan to the day you walk out with your permanent, functional new tooth.
This is not a generic overview. It is a close-up, clinical yet human, explanation of each phase, designed to replace the fear of the unknown with the calm of informed expectation.

Phase 1: The Diagnostic and Planning Stage
The implant process begins long before the day of surgery. It starts in the quiet, analytical environment of the diagnostic and planning phase. This stage is invisible to the patient in terms of physical sensation, but it is the most intellectually critical phase of the entire procedure.
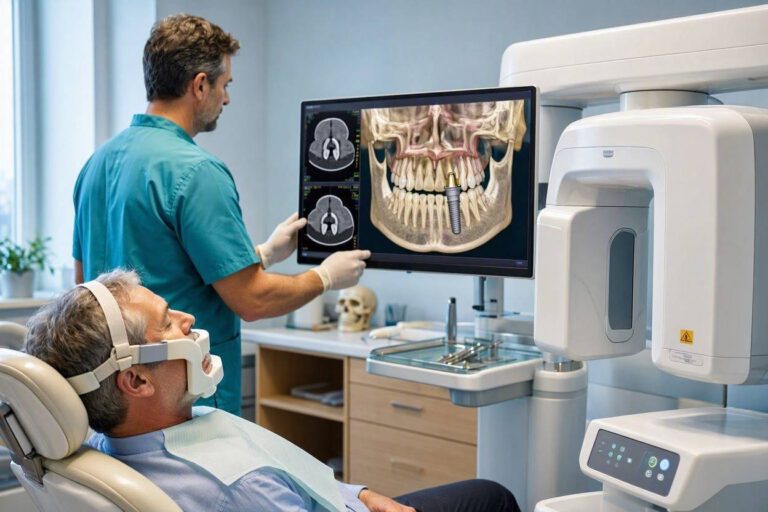
Your restorative dentist or implant surgeon will take a series of diagnostic records. The cornerstone of modern implant planning is the Cone Beam Computed Tomography (CBCT) scan. You will sit or stand while a machine rotates around your head, capturing hundreds of X-ray images that are reconstructed into a single, three-dimensional digital model of your jaws. This scan reveals, with sub-millimeter accuracy, the height, width, and density of your bone, the exact location of your maxillary sinuses in the upper jaw, and the precise path of the inferior alveolar nerve in your lower jaw. This is the map that makes safe surgery possible. Without it, the surgeon is navigating blind.
An intraoral digital scan or a traditional physical impression is also taken. This captures the exact shape of your existing teeth and gums. The CBCT scan and the digital impression are merged using specialized implant planning software, like coDiagnostiX or SimPlant. On the computer screen, the restorative dentist and the surgeon collaborate to plan the implant’s exact 3D position. They design the final crown virtually, and then place the virtual implant in the ideal bone to support that crown, angling it perfectly to avoid vital structures and to emerge through the gum in a cleansable, aesthetic position. This is prosthetically driven implant planning. From this virtual plan, a 3D-printed surgical guide is fabricated. This custom-made, rigid plastic guide fits over your teeth and has a precisely drilled metal sleeve that directs the surgeon’s drill into the exact pre-planned position and angle.
Phase 2: The Surgical Placement of the Implant
The day of surgery arrives. You are seated in the surgical suite, and the environment is calm, sterile, and controlled. The procedure itself is performed under profound local anesthesia. You will feel pressure and vibration, but you should feel no sharp pain. For many patients, IV sedation or nitrous oxide is administered to induce a state of deep relaxation and amnesia.
The surgeon begins by cleaning the surgical site and administering the local anesthetic. You will feel a few brief, small pinches as the anesthetic is injected, and then a rapid, spreading numbness. Once profound anesthesia is confirmed, the surgery begins.
If a failing tooth is still present, it is extracted atraumatically, with careful preservation of the bony socket walls. A small incision is made in the gum over the edentulous ridge, and a full-thickness flap of gum tissue is gently reflected, exposing the underlying jawbone. This is the surgical access.
The surgeon places the 3D-printed surgical guide over your teeth. It fits with a satisfying click, locked into its exact position. Through the metal sleeves in the guide, the surgeon uses a series of sequentially larger, precisely sized surgical drills to prepare the osteotomy, a precisely shaped hole in the bone. The drilling is done at a controlled, low speed, with copious sterile saline irrigation to prevent the bone from overheating.
The implant is removed from its sterile packaging. It is a small, screw-shaped piece of titanium. Using a torque-controlled surgical handpiece, the surgeon threads the implant into the prepared osteotomy. The goal is to achieve primary stability, a high insertion torque indicating that the implant is mechanically locked into the dense bone. A healing abutment, a small metal cap, is often screwed into the implant. This healing abutment protrudes through the gum, shaping the tissue as it heals. Alternatively, a cover screw is placed, and the gum is sutured completely closed over the implant, requiring a second small procedure to uncover it later. The gum flap is repositioned and closed with fine sutures. A sterile gauze is placed over the site, and you are asked to bite down gently. The surgical placement phase is complete. It typically takes 60 to 90 minutes for a single implant.
Phase 3: The Osseointegration Period (The Healing Wait)
The surgery is over, but the most important biological event is just beginning. Over the next three to six months, the jawbone will heal around the implant in a process called osseointegration. The blood clot that formed in the microscopic spaces around the implant is slowly replaced by new bone cells. Osteoblasts migrate to the roughened titanium surface and begin laying down new bone matrix, which then mineralizes. The implant becomes rigidly, permanently fused to the living skeleton.
During this period, you are a silent participant. Your job is to protect the surgical site. You follow a soft-food diet, you avoid chewing on the site, and you maintain meticulous but gentle oral hygiene. There is no visible tooth yet, just a smooth, pink gum surface with a small metal healing abutment visible, or a completely sealed, healing ridge of gum. This is the period of patience, the biological waiting game.
Phase 4: The Restorative Phase (The New Tooth)
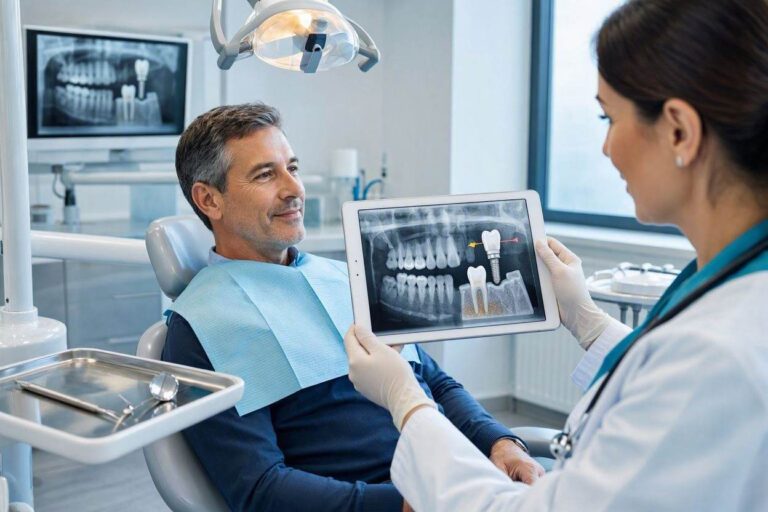
Once osseointegration is confirmed, typically with a follow-up X-ray, the restorative phase begins. If a healing abutment is in place, it is simply removed. If the implant was buried, a small, brief procedure is performed to uncover it and place a healing abutment. A few weeks later, the gum tissue has formed a healthy, shaped collar around the healing abutment.
The restorative dentist now takes a master impression. In a modern digital workflow, this is done with an intraoral scanner. A small, digital scan body is screwed into the implant. The scanner captures the exact 3D position and rotation of the implant. This digital file is sent to the dental laboratory.
The master ceramist uses the digital scan to design and fabricate the final restoration. A custom abutment, precision-milled from a solid block of titanium or zirconia, is created to fit the implant. A ceramic crown is layered and sculpted to match the shape, shade, and translucency of your adjacent natural teeth. The laboratory process takes two to three weeks. You may wear a small temporary tooth during this period.
At the final delivery appointment, the healing abutment is removed. The custom abutment is seated onto the implant, and the abutment screw is torqued to the manufacturer’s precise specification using a calibrated torque wrench. The ceramic crown is then cemented onto the abutment, or if it is a screw-retained crown, it is screwed into place, and the screw access channel is sealed with Teflon tape and a tooth-colored composite filling. The dentist checks and adjusts the bite meticulously, ensuring a light, harmonious contact. The implant is now restored. You have a new, fixed, permanent tooth.
Conclusion
A dental implant is performed in a meticulously planned, staged sequence. The diagnostic phase uses 3D imaging to create a virtual surgical plan. The surgical phase involves precise, guided osteotomy preparation and the placement of the titanium post under profound anesthesia. A healing period of three to six months allows for osseointegration. Finally, the restorative phase captures the implant position and delivers a custom, ceramic crown, restoring full function and aesthetics. The process is a collaboration of technology, surgical skill, and artistic restoration.
Frequently Asked Questions
Is the surgery painful?
The surgery itself is performed under profound local anesthesia and should be painless. You will feel the vibration of the drills and firm pressure, but not sharp pain. Post-operative discomfort is typically managed with over-the-counter or prescribed pain medication and ice, peaking in the first 48 hours and resolving steadily over the following week.
How long does the entire process take from start to finish?
For a straightforward, single-tooth implant with no bone grafting, the total timeline from extraction or implant placement to the delivery of the final crown is typically three to six months. The healing period is the longest phase. If a bone graft is required, the timeline extends by several months.
Do I have to go without a tooth during the healing period?
No. For a front tooth, a temporary, removable tooth (a flipper) or a bonded temporary bridge is provided for social aesthetics. For a back tooth, the space is simply left to heal, which is not a cosmetic concern. For a full-arch case, a fixed, screw-retained temporary bridge is delivered on the same day as the surgery.
Additional Resource:
For a visual, step-by-step animation of the dental implant process, visit the American Academy of Periodontology’s patient education video library: https://www.perio.org/consumer/dental-implant-video