How To Look After Dental Implants?
You have invested time, money, and energy into getting a dental implant. The surgery is over, the healing is complete, and you finally have a beautiful, functional new tooth. Now comes the most important part: keeping it healthy for the rest of your life.
A common misconception is that dental implants are “maintenance-free.” Because they are made of titanium and porcelain, they cannot get cavities. This leads some patients to believe they can just brush them lightly and forget about them. This is a dangerous myth.
While the implant itself cannot decay, the gum and bone surrounding the implant are highly vulnerable to infection. If you do not look after your implant properly, you risk a condition called peri-implantitis, which is the leading cause of late implant failure.
This guide will provide a comprehensive, easy-to-follow maintenance routine to ensure your dental implant lasts a lifetime.
The Enemy: Plaque and Peri-Implantitis
To care for your implant, you must understand what you are fighting against.
Plaque is a sticky film of bacteria that forms on your teeth daily. If plaque is not removed, it hardens into tartar (calculus) . Both of these irritate the gums.
Around a natural tooth, the gum attaches to the root via thousands of tiny fibers (the periodontal ligament). This creates a tight seal that is somewhat resistant to bacterial invasion.
Around an implant, this attachment is different. The gum tissue forms a “cuff” around the implant, but the attachment is weaker. It relies on a simple adhesion. This means bacteria can penetrate deeper and easier around an implant than around a natural tooth.
If bacteria invade the gum pocket around the implant, it causes inflammation. This is called peri-implant mucositis (similar to gingivitis). If left untreated, it progresses to peri-implantitis, where the inflammation destroys the bone supporting the implant. Once the bone is gone, the implant becomes loose and fails.
The Daily Routine: Your First Line of Defense
Your goal is to remove plaque from around the implant every single day without scratching or damaging the metal or porcelain.
1. Brushing (Twice a Day)
You must brush your teeth at least twice a day, just as you would with natural teeth.
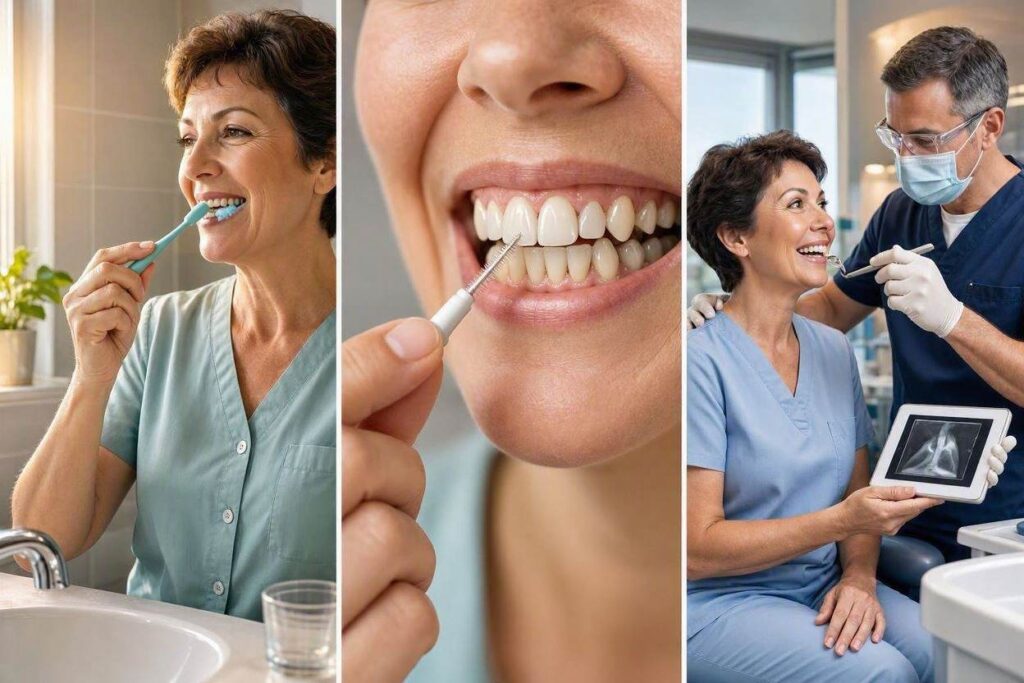
- The Brush: Use a soft-bristled toothbrush. Hard bristles can scratch the gum tissue and cause recession, exposing the metal of the implant. Electric toothbrushes (like Sonicare or Oral-B) are excellent because they remove plaque efficiently with minimal effort.
- The Technique: Pay special attention to the gum line where the crown meets the gum. Angle the brush at 45 degrees to clean the “cuff” area.
- The Toothpaste: Avoid highly abrasive toothpastes (like those designed for heavy smokers or heavy stain removal). These can scratch the porcelain crown, making it look dull and more prone to staining. Regular fluoride toothpaste is fine.
2. Flossing (The Critical Step)
Brushing alone cannot clean the sides of the implant or the area between the implant and the adjacent teeth. Flossing is non-negotiable.
- The Traditional Method: You can use traditional string floss. Wrap it around the implant tooth and gently slide it up and down. Be careful not to “snap” the floss into the gums.
- The Better Method: Interdental Brushes: These are tiny, pipe-cleaner-like brushes (like Proxabrushes). They are often more effective than floss for cleaning around implant crowns because they can reach into the curved spaces under the crown.
- The Best Method: Water Flossers: A Waterpik or similar water flosser is a game-changer for implant care. The pulsating water flushes out food particles and bacteria from under the crown and around the gum line. It is gentle, effective, and easy to use.
Professional Maintenance: The Dental Hygienist’s Role
You cannot do it all alone. You need professional help to keep your implant healthy.
1. Regular Check-ups (Every 3-6 Months)
You should see your dentist or periodontist every 6 months at minimum. However, many dentists recommend 3-month or 4-month recalls for implant patients. These frequent visits allow the dentist to catch any signs of peri-implantitis early, when it is still reversible.
2. The “Implant Cleaning”
A standard dental cleaning for natural teeth uses metal instruments (scalers) to scrape tartar off the enamel. You cannot use these standard metal scalers on a titanium implant. The metal scaler would scratch the polished surface of the implant, creating grooves where bacteria can hide.
Therefore, your hygienist must use special plastic or titanium-tipped instruments designed specifically for implants. They will gently clean the area around the implant without scratching it. They may also use special rubber cups to polish the crown.
Action Item: When you book your cleaning, tell the receptionist: “I have a dental implant. Please make sure the hygienist has the special implant instruments ready.”
Lifestyle Habits: Protecting Your Investment
Your daily habits play a huge role in the longevity of your implant.
1. Do Not Smoke
This is the most important lifestyle rule. Smoking constricts blood vessels, reducing blood flow to the gums and bone. It drastically increases the risk of peri-implantitis. Studies show that smokers have a significantly higher rate of implant failure. If you smoke, quitting is the single best thing you can do for your implant (and your overall health).
2. Wear a Night Guard (If You Grind)
If you grind or clench your teeth at night (bruxism), you are putting massive force on the implant, the abutment screw, and the crown. This can lead to loosening of the screw, chipping of the porcelain, or bone loss. A custom-fit hard night guard from your dentist acts as a shock absorber, protecting your implant from these destructive forces.
3. Avoid Chewing Hard Objects
While the implant is strong, the porcelain crown is not indestructible. Do not chew on ice cubes, hard candies, popcorn kernels, or use your teeth to open packages. Just like a natural tooth, the crown can chip or crack.
4. Watch the Staining Foods
Porcelain is stain-resistant, but it is not stain-proof. Heavy consumption of coffee, tea, red wine, and dark berries can dull the surface over time. Rinsing with water after consuming these beverages helps maintain the shine.
The “Food Trap” Issue
Sometimes, patients notice that food gets stuck around their implant more than around their other teeth. This is normal. The implant crown is often slightly narrower than the natural tooth it replaced, which can create a small space.
If food gets stuck:
- Do not use a wooden toothpick. It can splinter and damage the gums.
- Use a Water Flosser. This is the best way to flush out the debris.
- Use an Interdental Brush. Gently clean the space.
The Warning Signs: When to See the Dentist Immediately
Do not wait for your 6-month check-up if you notice any of these symptoms:
- Bleeding: Healthy gums do not bleed when you brush or floss. Bleeding around the implant is the first sign of inflammation (mucositis).
- Swelling or Redness: The gums around the implant should be pink and firm, not puffy or dark red.
- Pus: Any discharge from around the implant is a sign of active infection.
- Bad Taste or Bad Breath: This can indicate food trapped deep under the gum or an infection.
- Looseness: A healthy implant should be rock solid. If it wiggles, the bone support has failed.
The “Screw Loose” Scenario
If the crown feels loose but the implant post is solid, it might just be the abutment screw that has come loose. This is a simple fix. The dentist will remove the crown, re-tighten the screw, and seal it up. Do not ignore it, as chewing on a loose crown can break the screw.
A Sample Daily Routine for Implant Care
To put it all together, here is what a perfect day looks like for your implant:
Morning:
- Rinse with water.
- Brush teeth with a soft-bristled electric brush for 2 minutes.
- Use a Water Flosser or interdental brush to clean around the implant.
- Eat breakfast (preferably avoiding sticky sugars).
Evening (Before Bed):
- Floss or use interdental brushes to dislodge large food particles.
- Brush teeth (including the implant) for 2 minutes.
- Use a Water Flosser with a diluted antibacterial mouthwash to flush the gum pockets around the implant.
- Put in your night guard if you have one.
- Go to sleep with a clean mouth.
Conclusion
Looking after dental implants requires a commitment to daily hygiene and regular professional maintenance. The goal is to prevent peri-implantitis by removing plaque bacteria from around the implant without scratching the surface. By using soft brushes, interdental aids, and water flossers, combined with regular check-ups and a healthy lifestyle, you can ensure your implant remains healthy and functional for decades.
Frequently Asked Questions (FAQ)
1. Can I use regular dental floss on my implant?
Yes, you can use regular floss. However, many dentists prefer that you use interdental brushes or a water flosser. The crown on an implant often has a “ledge” or a wider base than a natural tooth, which string floss might not clean perfectly. Superfloss (a stiff-ended floss) is also a good option to thread under the crown.
2. Why does my hygienist use plastic tools on my implant?
Titanium is a soft metal. If a stainless steel scaler is used on a titanium implant, it will scratch the surface. These scratches create microscopic grooves where bacteria can live and multiply, increasing the risk of infection. Plastic or titanium-tipped scalers are safe.
3. Can I whiten my teeth if I have a dental implant?
You can whiten your natural teeth, but you must be aware that the porcelain on the implant crown will not change color. If you whiten your natural teeth too much, the implant crown might start to look yellow or dark in comparison. It is best to whiten before the crown is made, or to have the crown replaced if you decide to whiten later.
4. How often should I replace my Water Flosser tip?
You should replace the tip every 3 months, just like a toothbrush. Worn-out tips are less effective and can harbor bacteria.
5. Is it normal for my implant to feel different when I chew compared to my other teeth?
Yes. Natural teeth have a shock-absorbing ligament that allows them to flex slightly. Implants are fused directly to the bone, so they feel “solid” and have no give. Most patients adapt to this feeling within a few weeks and stop noticing it.