Dental Office Layout: A Complete Guide to Optimizing Your Space
The layout of your dental office is one of the most important design decisions you’ll ever make. A well-planned layout improves patient flow, boosts staff efficiency, reduces stress, and creates a positive experience for everyone who walks through your doors. A poorly designed layout, on the other hand, leads to bottlenecks, frustration, and wasted space.
This comprehensive guide explores the principles and practical strategies for creating an optimal dental office layout. Whether you’re building from scratch or renovating an existing space, these insights will help you make informed decisions that benefit your practice for years to come.
Why Dental Office Layout Matters
Layout is more than just arranging furniture and equipment. It’s the strategic organization of space to support your practice’s core functions. A thoughtful layout delivers measurable benefits.
Improved Patient Flow
Patients move through several stages during a visit: arrival, check-in, waiting, treatment, checkout, and departure. An efficient layout ensures smooth transitions between these stages without confusion or congestion.
Enhanced Staff Efficiency
Your clinical team needs to move quickly between treatment rooms, the sterilization area, and supply storage. A well-designed layout minimizes unnecessary steps and maximizes productive time.
Reduced Patient Anxiety
A confusing or cramped layout increases stress. Clear pathways, comfortable waiting areas, and private treatment spaces help patients feel calm and cared for.
Better Safety and Compliance
Proper layout supports infection control protocols, ensures ADA accessibility, and facilitates emergency evacuations.
“We redesigned our layout to create separate paths for patients and staff. The difference was immediate—our workflow improved, and patients stopped commenting on feeling crowded.” – Dr. Michael Torres, DDS
Key Principles of Dental Office Layout Design
Before diving into specific areas, let’s establish the fundamental principles that guide effective layout design.
The Three-Zone Concept
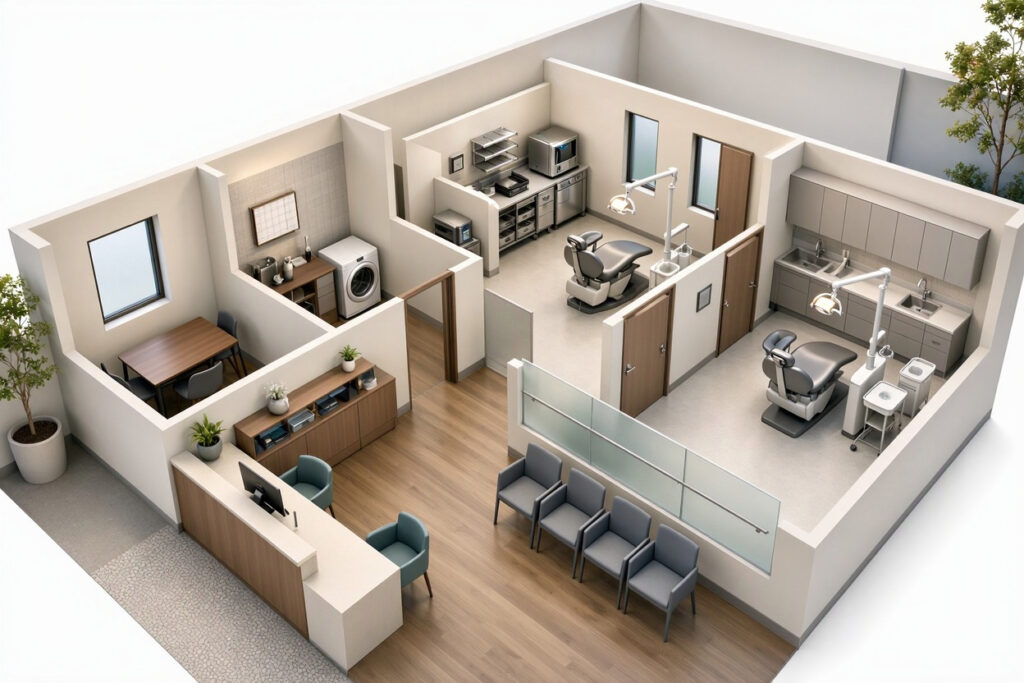
Divide your office into three distinct zones:
| Zone | Purpose | Examples |
|---|---|---|
| Public Zone | Areas accessible to patients. | Reception, waiting room, restrooms, checkout. |
| Clinical Zone | Areas where treatment occurs. | Treatment rooms, X-ray area, sterilization. |
| Staff Zone | Private areas for team members. | Break room, office, meeting space, storage. |
Clear separation between zones improves privacy, reduces cross-contamination, and streamlines workflow.
Linear vs. Circular Flow
Consider how patients and staff move through your office. A linear flow moves patients in a straight path from entrance to exit. A circular flow creates a loop that returns patients to the reception area. Choose the flow that best fits your space and services.
The One-Way Workflow Principle
In clinical areas, particularly sterilization, design a one-way workflow to prevent cross-contamination. Dirty instruments should enter one end and clean instruments should exit the other, with no crossover.
Flexibility for Future Needs
Design with adaptability in mind. Your practice may grow, add services, or adopt new technology. Flexible layouts allow you to evolve without major renovations.
Layout Strategies for Specific Areas
Each area of your dental office has unique layout requirements. Let’s explore the optimal arrangement for each.
Reception and Waiting Area Layout
The reception area is your patients’ first impression. It should be welcoming, functional, and easy to navigate.
Key Layout Considerations:
- Visible Reception Desk: Position the desk so staff can see the entrance and greet patients immediately.
- Clear Signage: Use signage to indicate check-in, restrooms, and treatment areas.
- Comfortable Seating Arrangement: Arrange chairs in clusters or facing each other to encourage conversation, or in rows facing away from each other for privacy.
- Accessible Pathways: Ensure pathways are wide enough for wheelchairs and strollers.
- Separate Checkout Area: If possible, create a separate checkout area to avoid congestion at the reception desk.
Treatment Room Layout
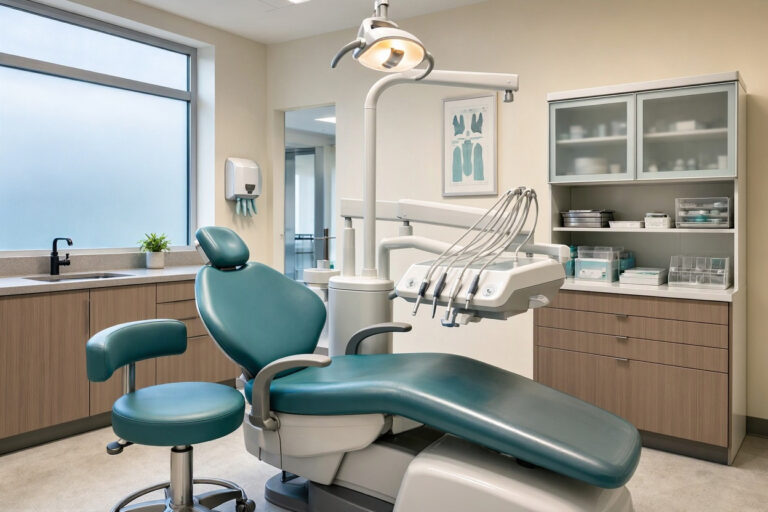
Treatment rooms are where the core clinical work happens. Efficiency and patient comfort are paramount.
Key Layout Considerations:
- Operator and Assistant Positioning: Ensure the dentist and assistant can work comfortably without crossing paths. Delivery systems should be adjustable for left- and right-handed operators.
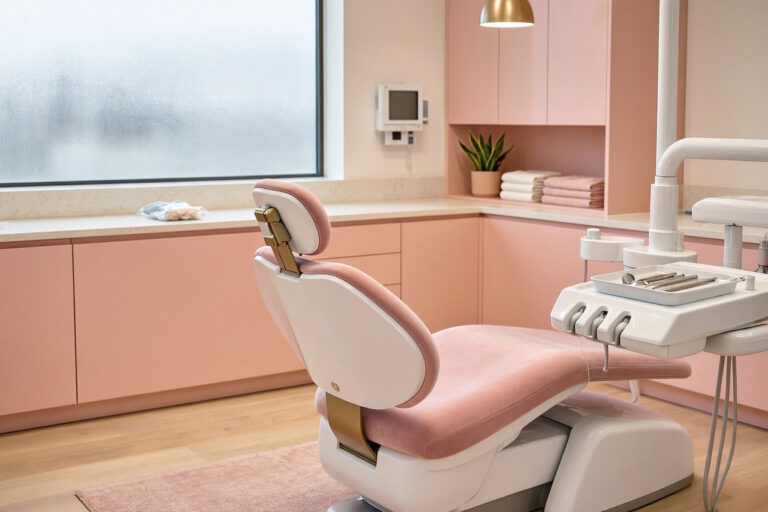
- Patient Comfort: Position the chair so patients can see calming decor or a television. Keep equipment out of the patient’s direct line of sight where possible.
- Supply Access: Place frequently used supplies within easy reach. Use drawers and cabinets with clear labels.
- Clear Floor Space: Keep the floor clear of cables and equipment to prevent tripping hazards and facilitate cleaning.
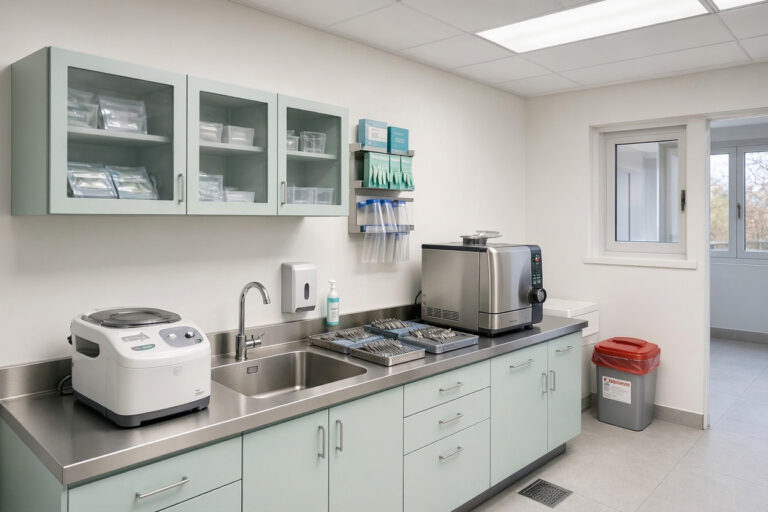
Sterilization Area Layout
The sterilization area is a critical clinical zone that requires careful planning. For a detailed guide, explore our article on dental office sterilization room design.
Key Layout Considerations:
- One-Way Workflow: Design a linear flow from dirty to clean. Separate areas for receiving, cleaning, sterilization, and storage.
- Adequate Counter Space: Ensure ample counter space for sorting and processing instruments.
- Proper Ventilation: Install exhaust ventilation to remove steam and fumes.
- Handwashing Station: Include a dedicated sink for handwashing near the entrance.
Staff Area Layout
Your team deserves a comfortable space to recharge.
Key Layout Considerations:
- Comfortable Seating: Provide sofas or armchairs for relaxation.
- Kitchenette: Include a small refrigerator, microwave, and coffee maker.
- Lockers or Storage: Provide secure storage for personal belongings.
- Private Space: Create a small area for private phone calls or conversations.
Common Layout Mistakes to Avoid
Learn from these common mistakes to save time, money, and frustration.
| Mistake | Why It’s Problematic | Solution |
|---|---|---|
| Cramming Too Much Into Small Spaces | Creates congestion and increases stress. | Prioritize essential functions and use space-saving solutions. |
| Ignoring Patient Flow | Patients get confused and frustrated. | Map out patient journeys and design clear pathways. |
| Neglecting Staff Needs | Leads to burnout and inefficiency. | Allocate adequate space for staff breaks and work areas. |
| Poor Lighting in Key Areas | Causes eye strain and reduces efficiency. | Use layered lighting for different tasks. |
| Insufficient Storage | Clutter accumulates quickly. | Plan for ample storage throughout the office. |
| Forgetting ADA Requirements | Creates legal and accessibility issues. | Follow ADA guidelines for all public areas. |
Layout Tips for Small Dental Offices
Small spaces require creative solutions. For a comprehensive guide, read our article on small dental office design.
- Use Multi-Functional Furniture: A reception desk with built-in storage, a bench with underneath storage.
- Maximize Vertical Space: Install floor-to-ceiling cabinets.
- Create Clear Pathways: Keep corridors free of obstructions.
- Use Glass Partitions: Create visual separation without blocking light.
- Consider Open Concept: An open layout can make a small space feel larger.
“We used glass partitions to separate our treatment rooms from the hallway. It made the space feel bigger and brighter while still providing privacy.” – Dr. Lisa Chang, DDS
Technology Integration and Layout
Modern dental offices rely on technology. Your layout should support current and future tech needs.
- Cable Management: Plan for cable routing to avoid clutter and tripping hazards.
- Server Room: Dedicate a small, climate-controlled space for servers and networking equipment.
- Digital Check-In: Position kiosks near the entrance for easy access.
- Monitor Placement: Ensure monitors are visible from key work areas.
- Wireless Connectivity: Ensure strong Wi-Fi coverage throughout the office.
An FAQ on Dental Office Layout
1. What is the ideal size for a dental office?
A single-chair practice needs about 800-1,000 square feet. A multi-chair practice typically requires 1,500-3,000 square feet. The ideal size depends on the number of treatment rooms, services offered, and staff count.
2. How many treatment rooms should a dental office have?
A common ratio is two treatment rooms per dentist, plus one for hygiene. This allows for efficient scheduling and reduces patient wait times.
3. What is the best layout for a dental office?
There’s no one-size-fits-all answer. The best layout depends on your space, services, and patient volume. The key is to separate public, clinical, and staff zones, ensure clear patient flow, and follow the one-way workflow principle in sterilization.
4. How can I create privacy in an open layout?
Use glass partitions with frosted sections, curtains, or sound-absorbing panels. Position treatment chairs away from doorways and windows. Use white noise machines to mask sound.
5. How do I plan for future growth in my layout?
Design with flexibility in mind. Use modular furniture, leave extra space in clinical areas, and plan for future technology needs. Consider how walls could be removed or added later.
Important Note for Readers
Always consult with an architect, dental equipment specialist, and interior designer before finalizing your layout. They can help you navigate building codes, ADA requirements, and workflow considerations. A well-planned layout is an investment that pays dividends for years.
Conclusion
An optimized dental office layout is foundational to your practice’s success.
Strategic zoning improves patient flow and staff efficiency.
Careful planning of each area enhances comfort and safety.
A flexible layout supports growth and adapts to future needs.
Additional Resource: For guidelines on healthcare facility design, visit the Facility Guidelines Institute (FGI). https://www.fgiguidelines.org/